We’ve been remiss in writing a new blog post. We’ll get on that. In the meantime, I wanted to share one of the bigger projects we’re already undertaking on the new boat.
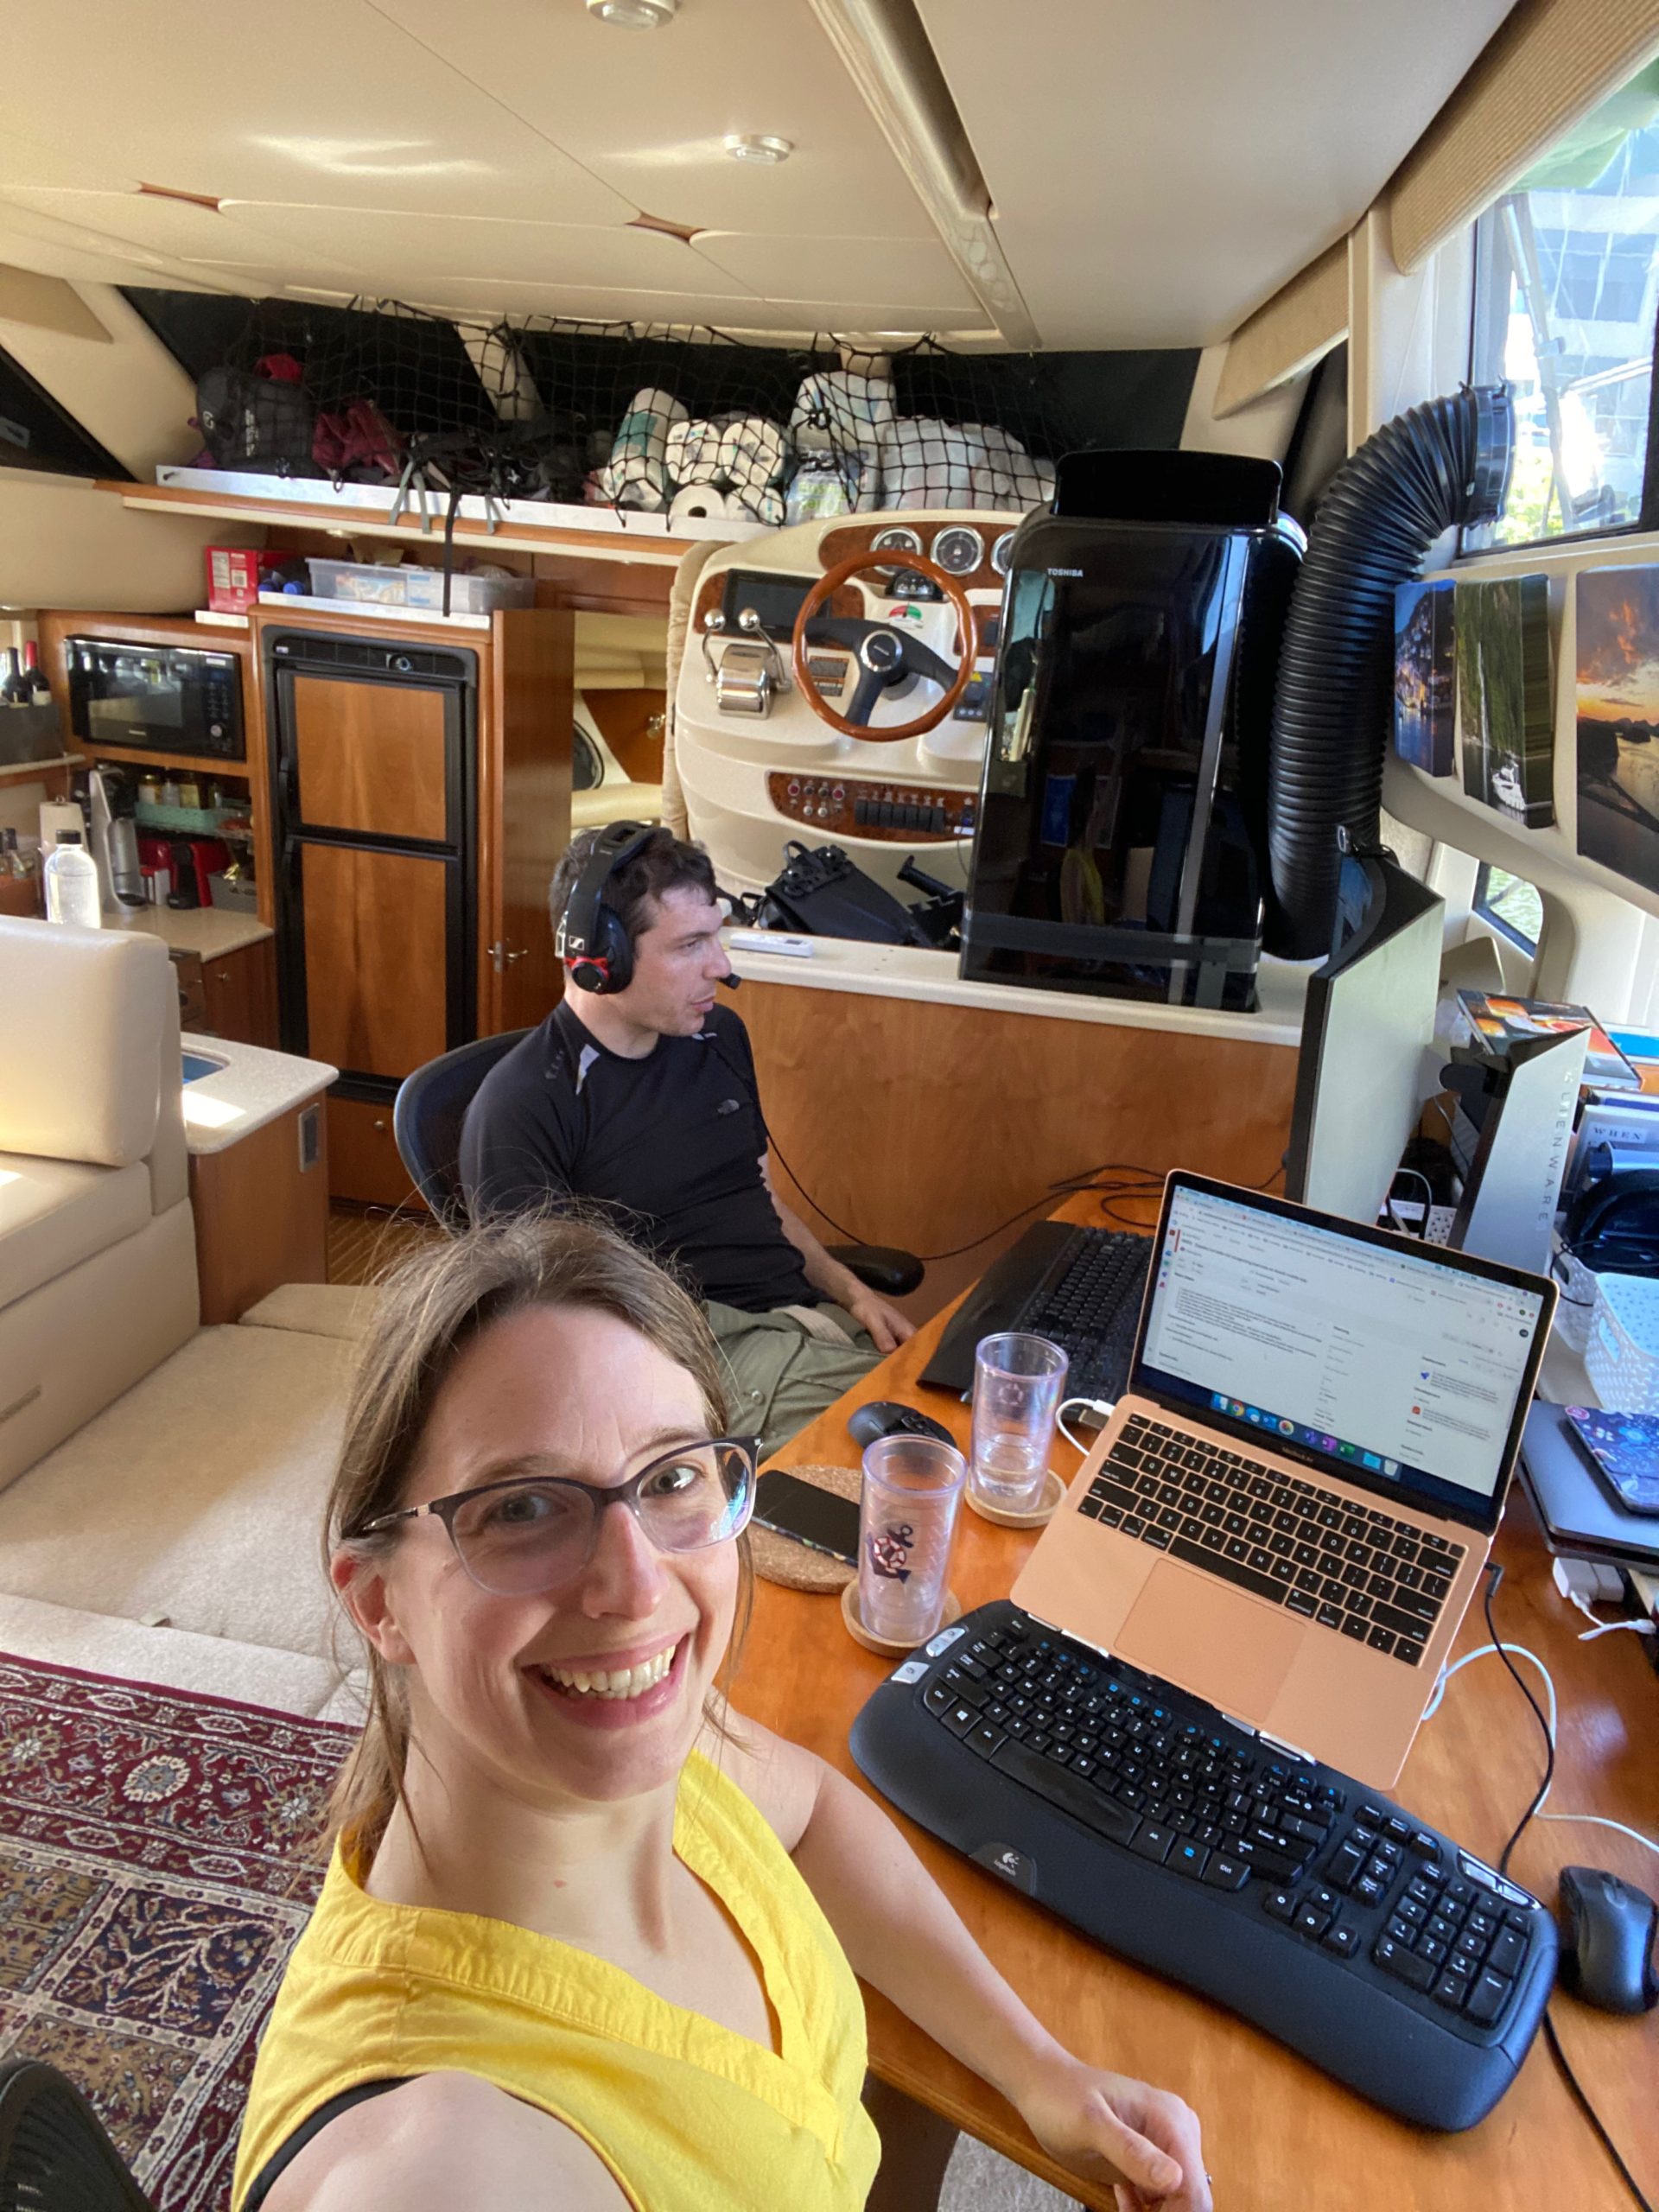
One of the primary criteria for a new boat (and motivating factors to, in fact, change boats) was to have separate/isolated spaces for us to be on video calls at the same time that are also climate-controlled/weather-protected. These days, we are often both on video calls 5+ hours a day each, which was presenting a stressful reality working next to each other on the last boat.
The Endeavour has a third small bedroom that has two bunks in an L shape and some storage. Our plan when we decided to buy the boat was to turn this into an office. We had bought a nice little desk for Hannah to use near the kitchen, and she immediately started working from there. I spent the first week on the boat working from the upstairs table on a laptop, which worked somewhat fine, but I’m also pretty loud, especially on video calls, so even upstairs, Hannah was getting complaints sounding like she was working with the TV on. Oops.
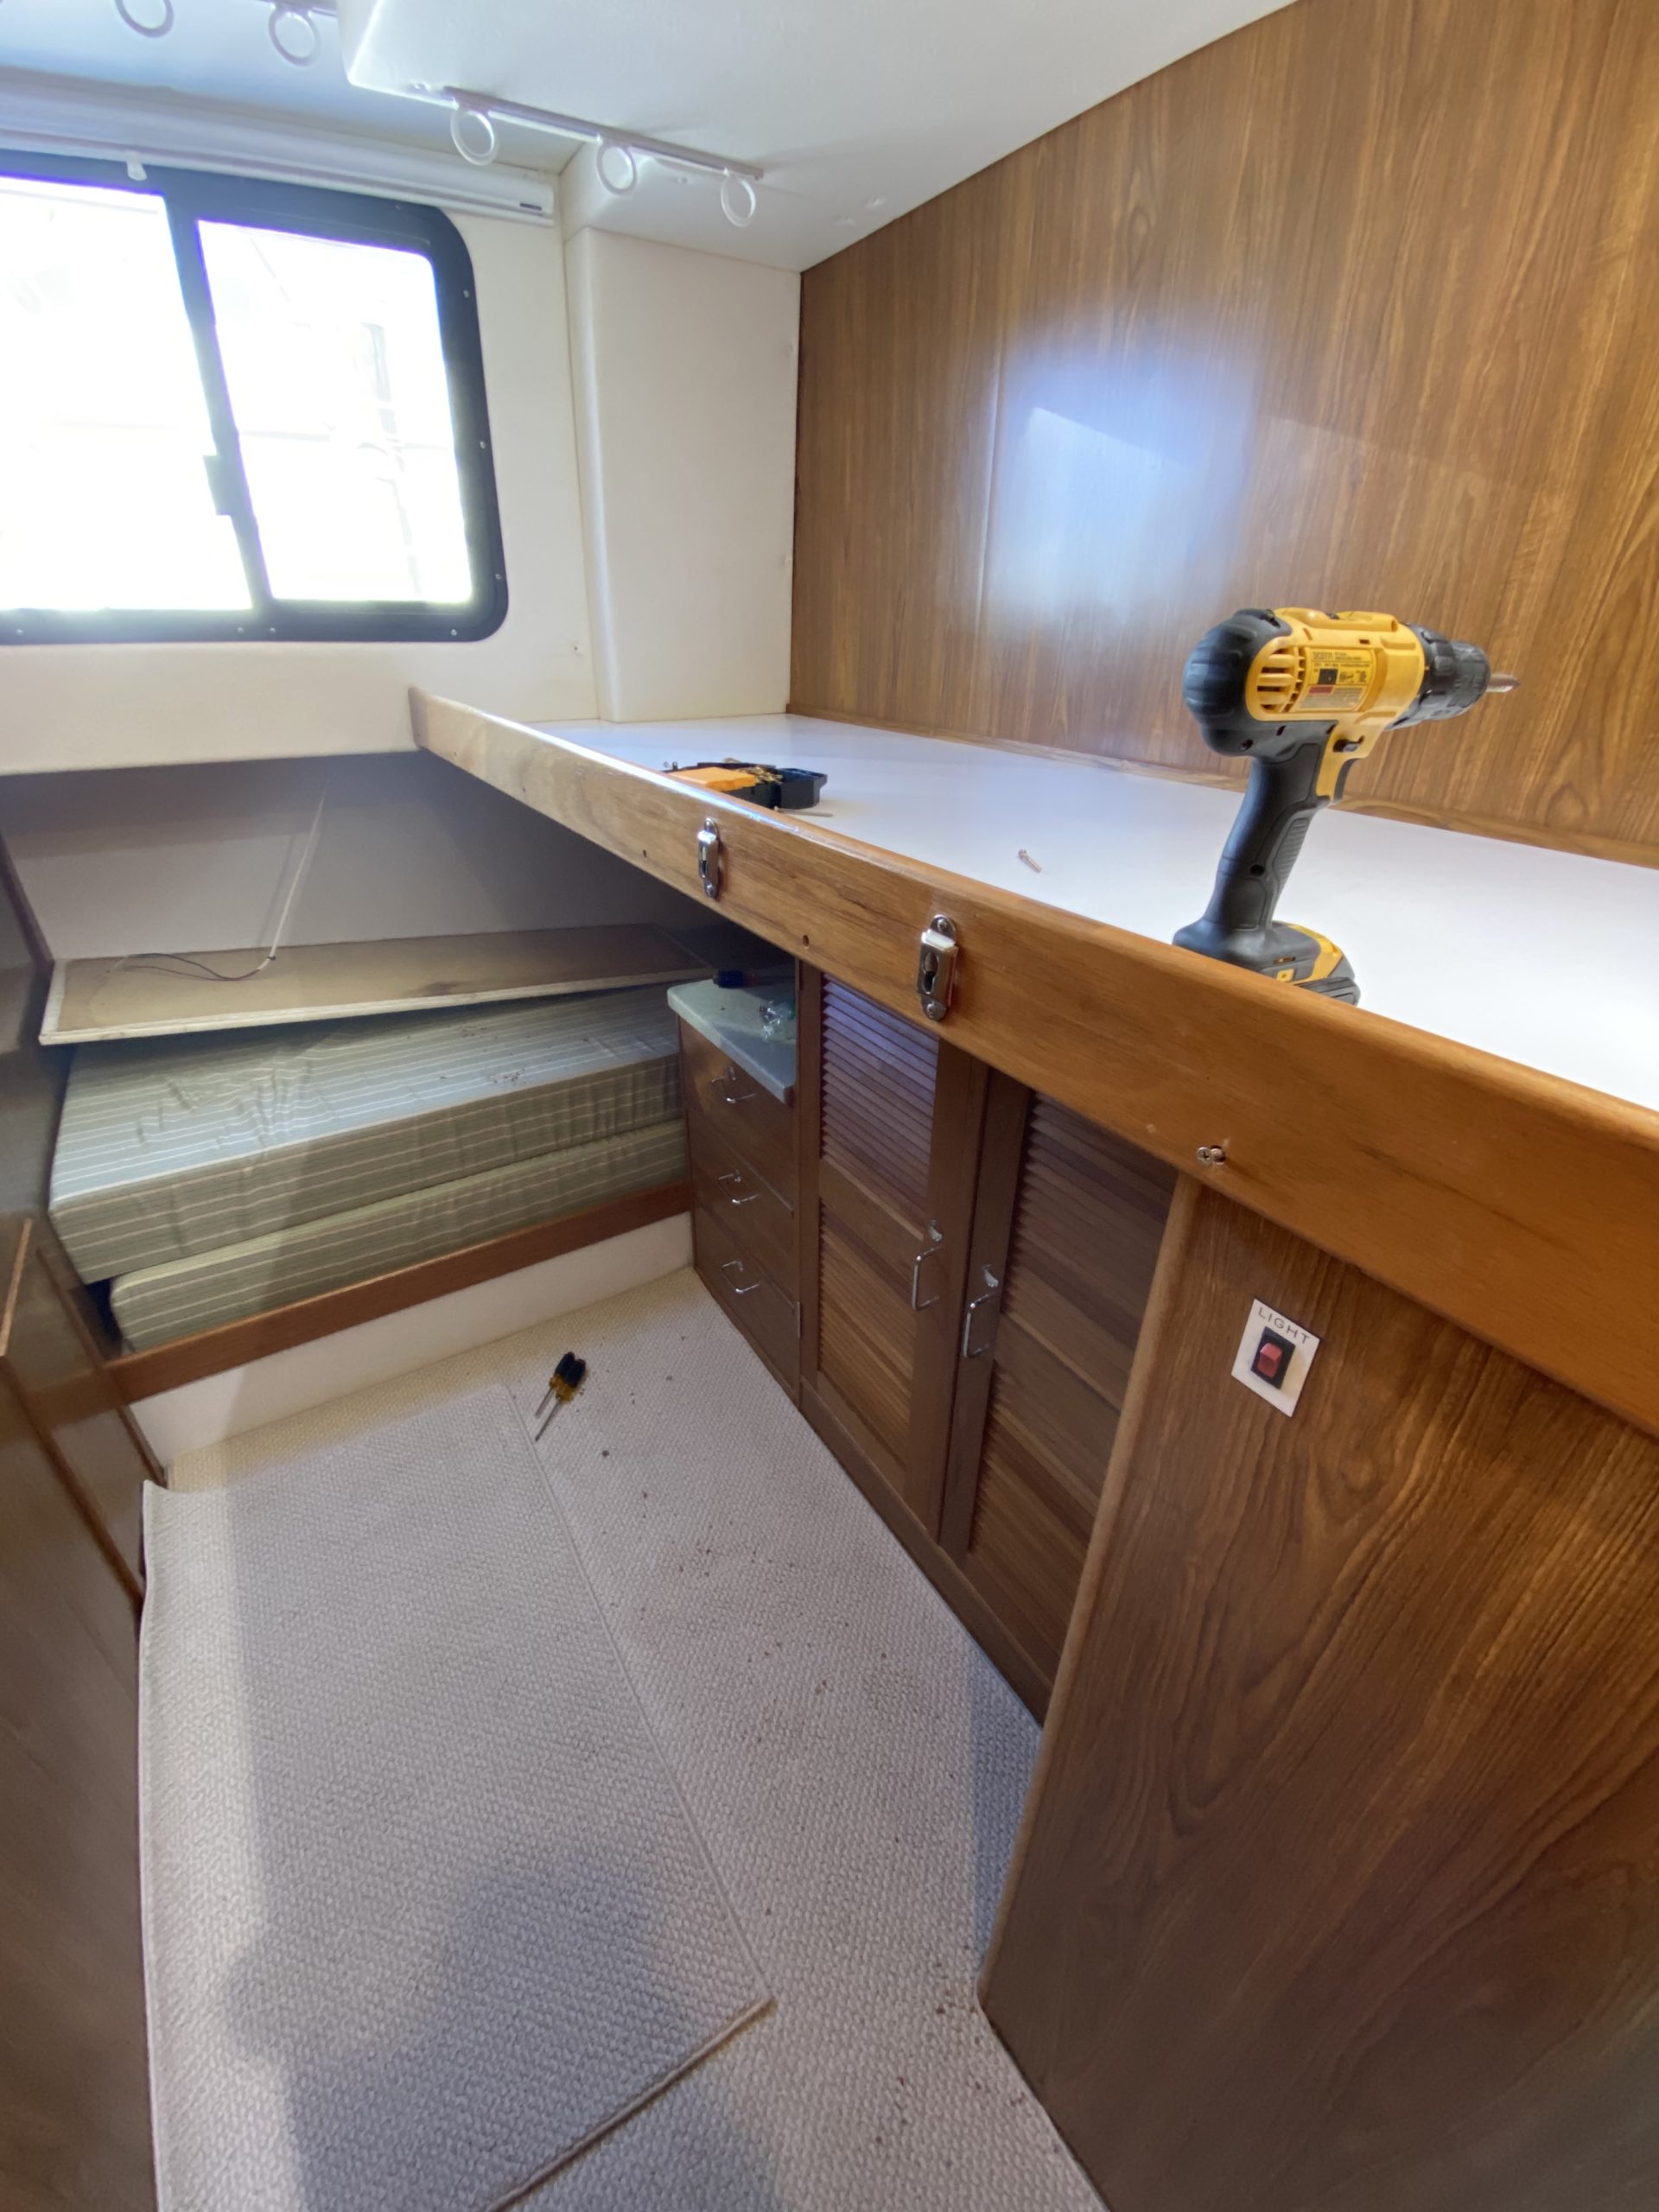
With a company holiday on Friday, it seemed like a good opportunity to start tearing apart the room and see what kinda challenge we were looking at here to make this the space we want it to be. It also started as an incredibly claustrophobic space with the bunks in there, so we were a little nervous about whether it’d open up enough to be a really comfortable place to spend 10+ hours a day. So while Hannah was on meetings all day, I started taking things apart.
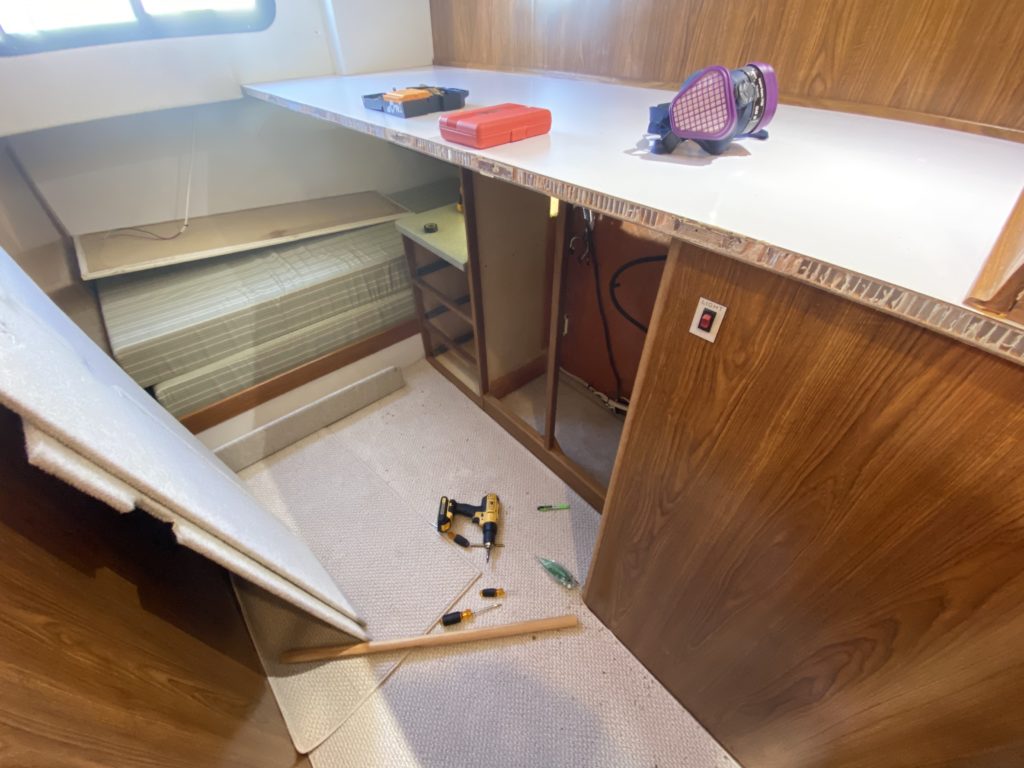
Immediately, I ran into some … interesting design choices. The bed was a single solid piece of cored fiberglass with white veneer, that ran from under the window all the way to the hallway, between the washer/dryer cabinet and the storage cabinets above it. I freaked out a bit because it looked like something that could be structural/integral. It was only 48″ off the ground, which would have been extremely limiting to work around to build a desk under it. After taking apart the drawers and backing of the closet, I found basically all of the vertical pieces also fiberglassed into the floor/back wall, which also appeared that it could be structural in some way.

Fortunately, after digging apart more things, these concerns were satisfied, one by one. The bed turned out to be basically “hung” from the walls, with fiberglass rolls draping down from the walls and connecting to the top of the bed sheet. So no torsion could be reinforced by it, as it’s basically hanging (even though the resin makes it solid). Presumably this is the strongest way to let kids jump up and down on a bed. Similarly, the vertical panels ended up just being glassed in as kinda a lazy attachment mechanism — you could tear the extra surface layer off with your bare hands without much work. Think of it like taping things to the floor or back wall, with fiberglass. So, eventually, the basic structure yielded.

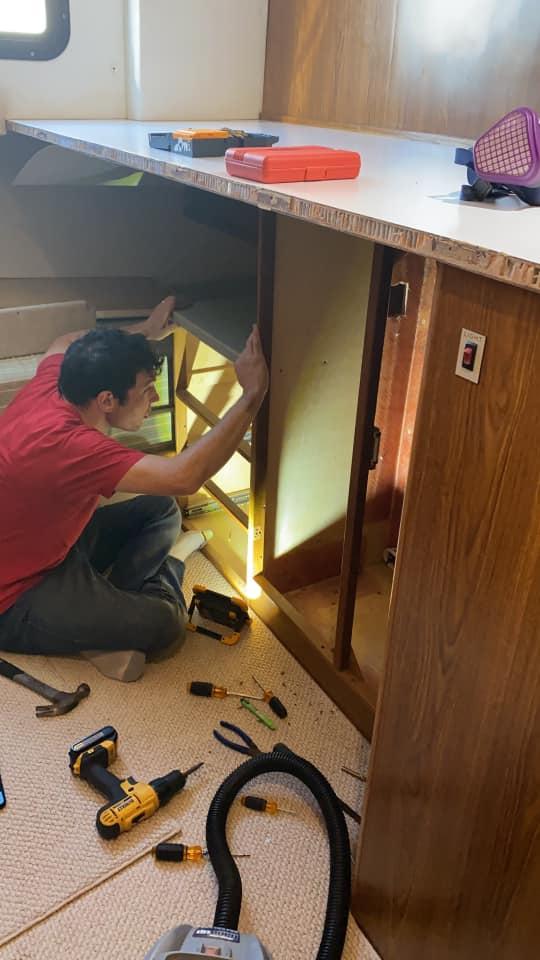
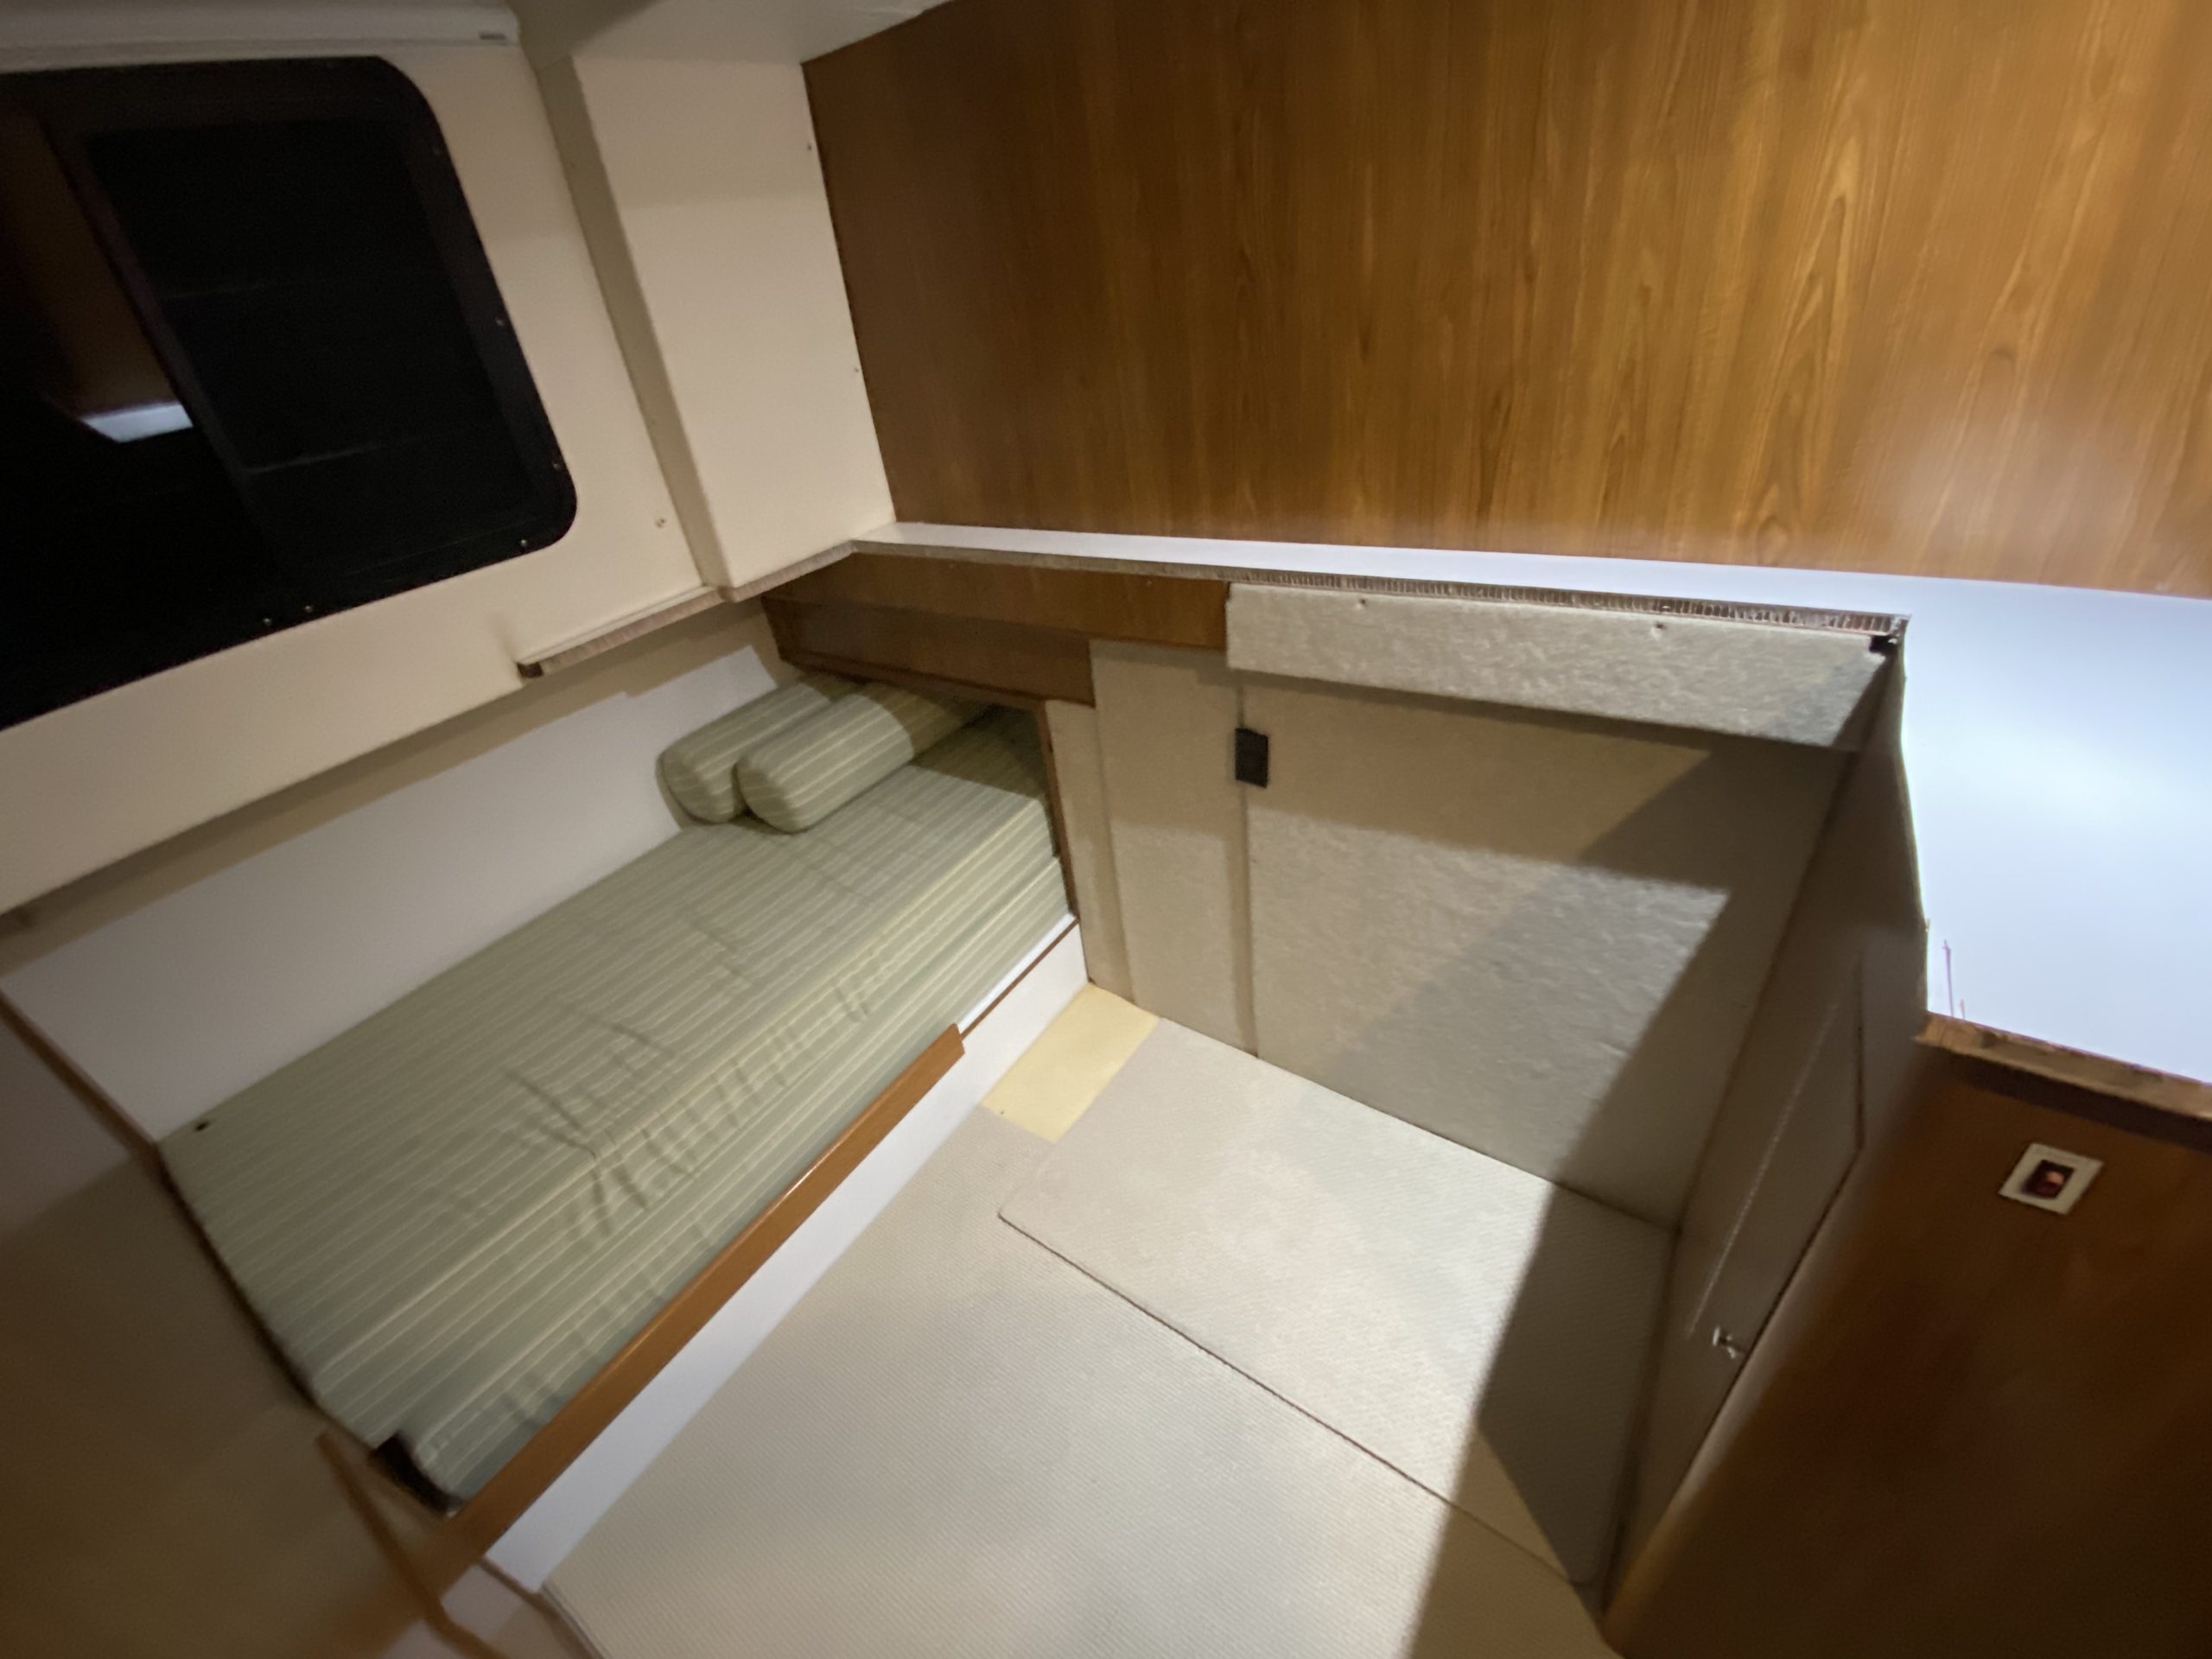
After the first problem yielded, it was on to the next one. The dryer vent ran along the wall on the underside of the bed, covered up by various trim pieces and carpeting in the back of the closet. Now it’s hanging out for all to see. I explored a bunch of options for what to do with this, but it looks like the real answer is going to be to change the whole routing and run it up along the ceiling, with a new dryer vent on the outside of the boat instead. That’s going to take a custom fiberglass repair person, so for now we have to just throw it back together, taking up as little space as possible. With that in mind, for now, we decided to keep 5 inches of the bed against the wall to be the support for the dryer hose, but take out everything else that we could.

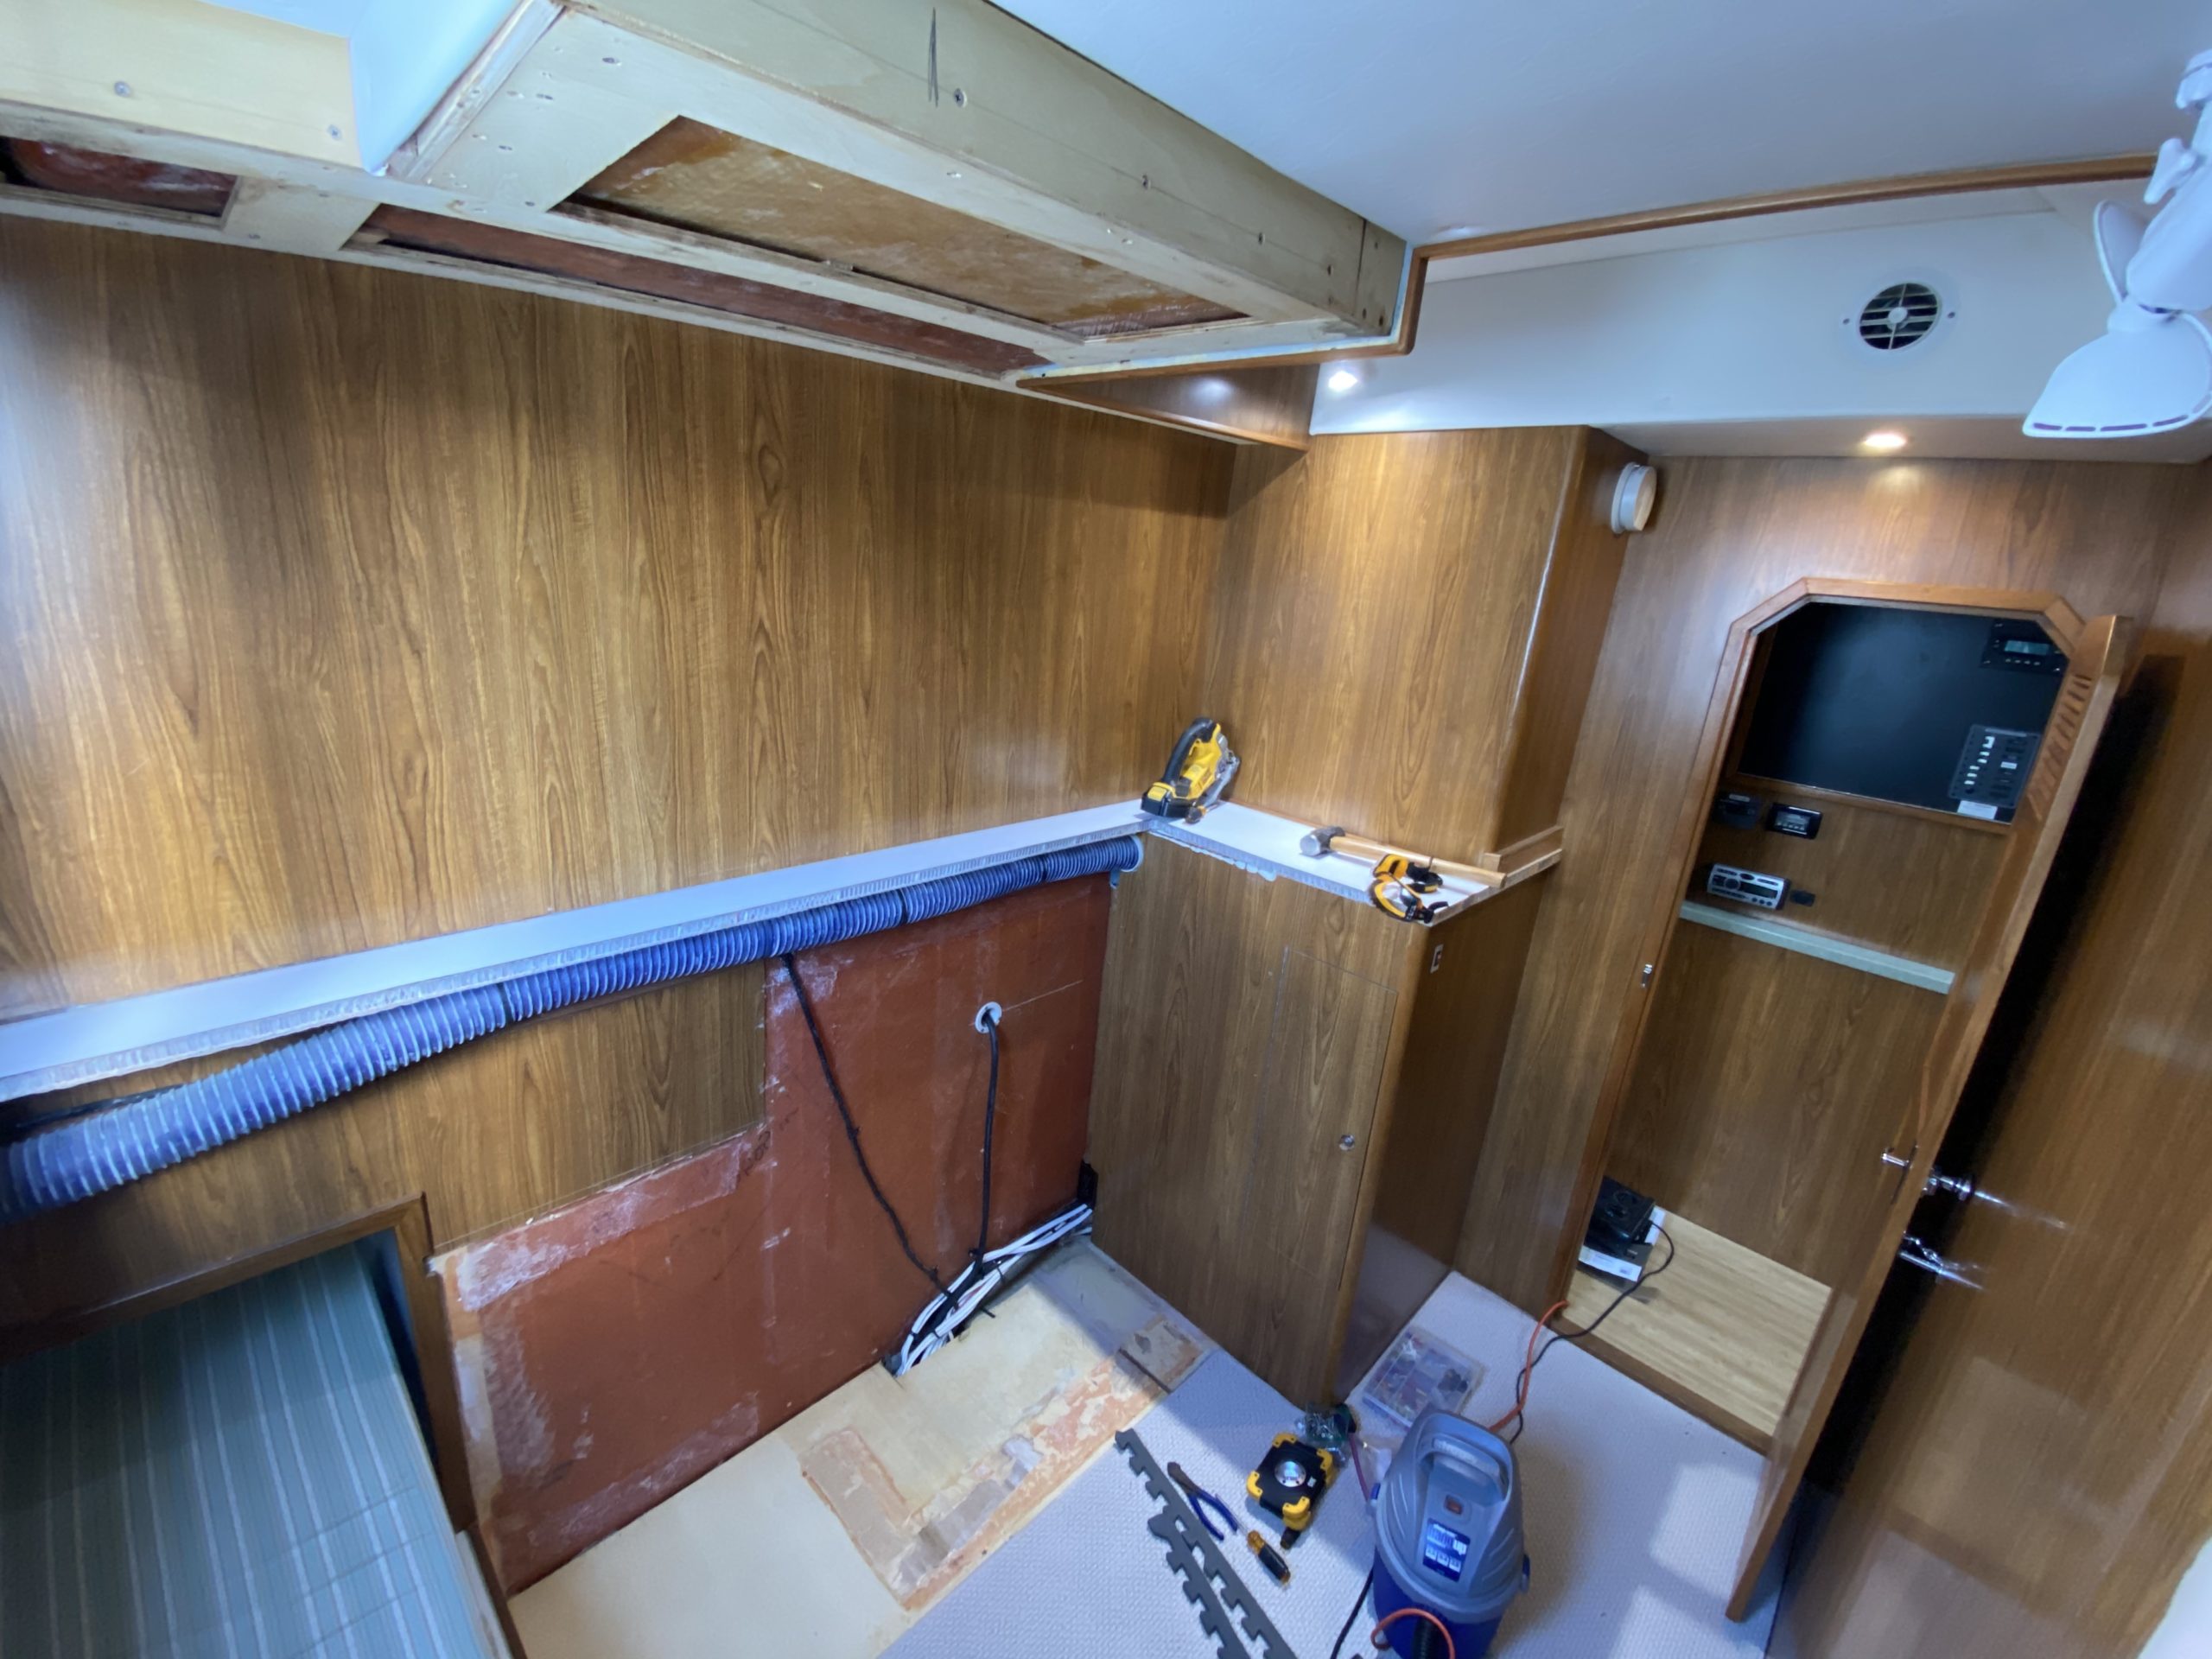
After converting an inordinate quantity of fiberglass into dust with a jigsaw, we managed to get roughly the first cut we were looking for. Finally the space felt open and like it’d really work well, especially if we could get rid of the vent stuff someday. A nice open 56″ wide box to start thinking about putting a desk into. Finally, with all the cutting complete for now, I built some new support brackets for the vent covers, cut things down as small as I could, and tried to reassemble everything I could back into something resembling a finished space.
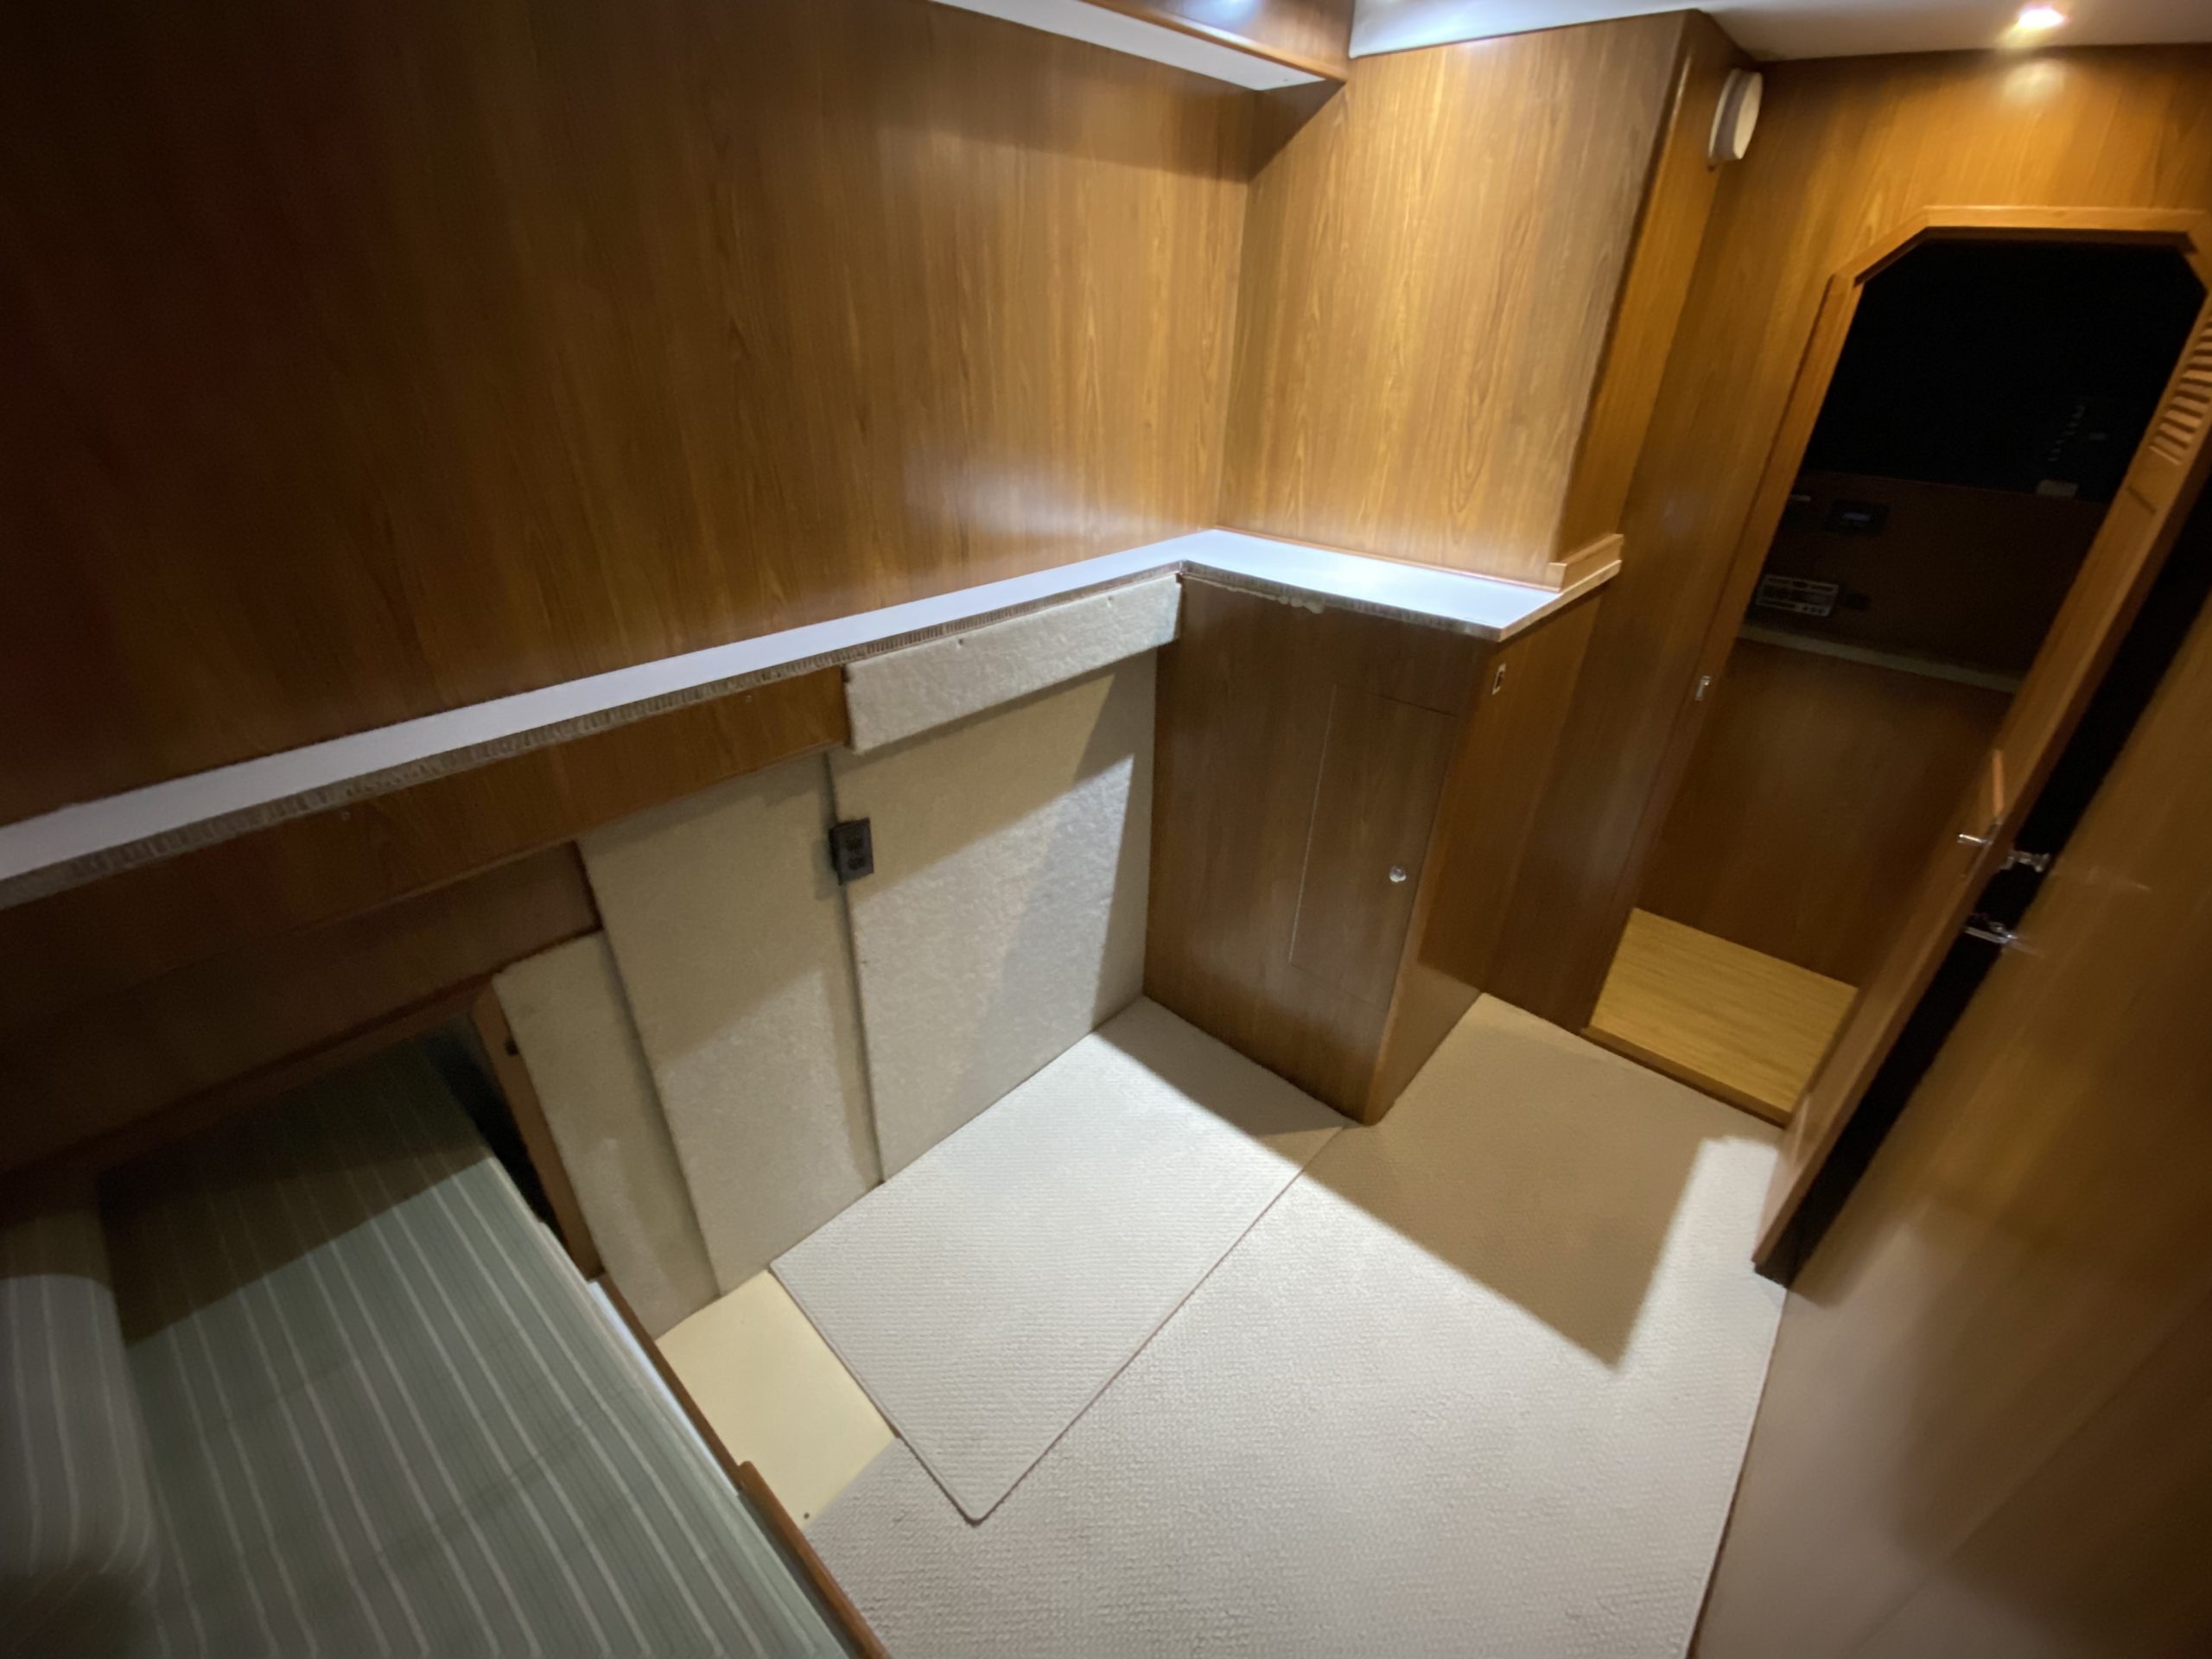
It’s definitely a little ghetto for now, but it’s good enough to pick up a cheap desk to work with for a while. I can spend time testing out the desk height and general space while find someone to move the vent hose, and then finish cutting the other pieces out and get someone to build a proper custom desk setup into the wall. My woodworking skills are nowhere near good enough to make an even vaguely professional setup in this space, so I’m not even going to try.
But at least we have a usable space now! And it looks very likely that we can keep the single bed and still have a great desk setup. More to come!
That looks very cool! Maybe working in some soundproofing? Or is that no longer a concern in this space?
Possibly — if anything we’d need to just build it into the door. We’ve tried some basic yelling through the door and so far it seems good. Once we get into working in the arrangement we’ll see if we need to do more.
I would think that some sound absorbing panels might be helpful for echos on your video chats in such a small space even if it’s not needed to reduce the sound through the door.
Hannah: “David, you talk too loud!”
David: “Fine, I’ll just use power tools instead.”