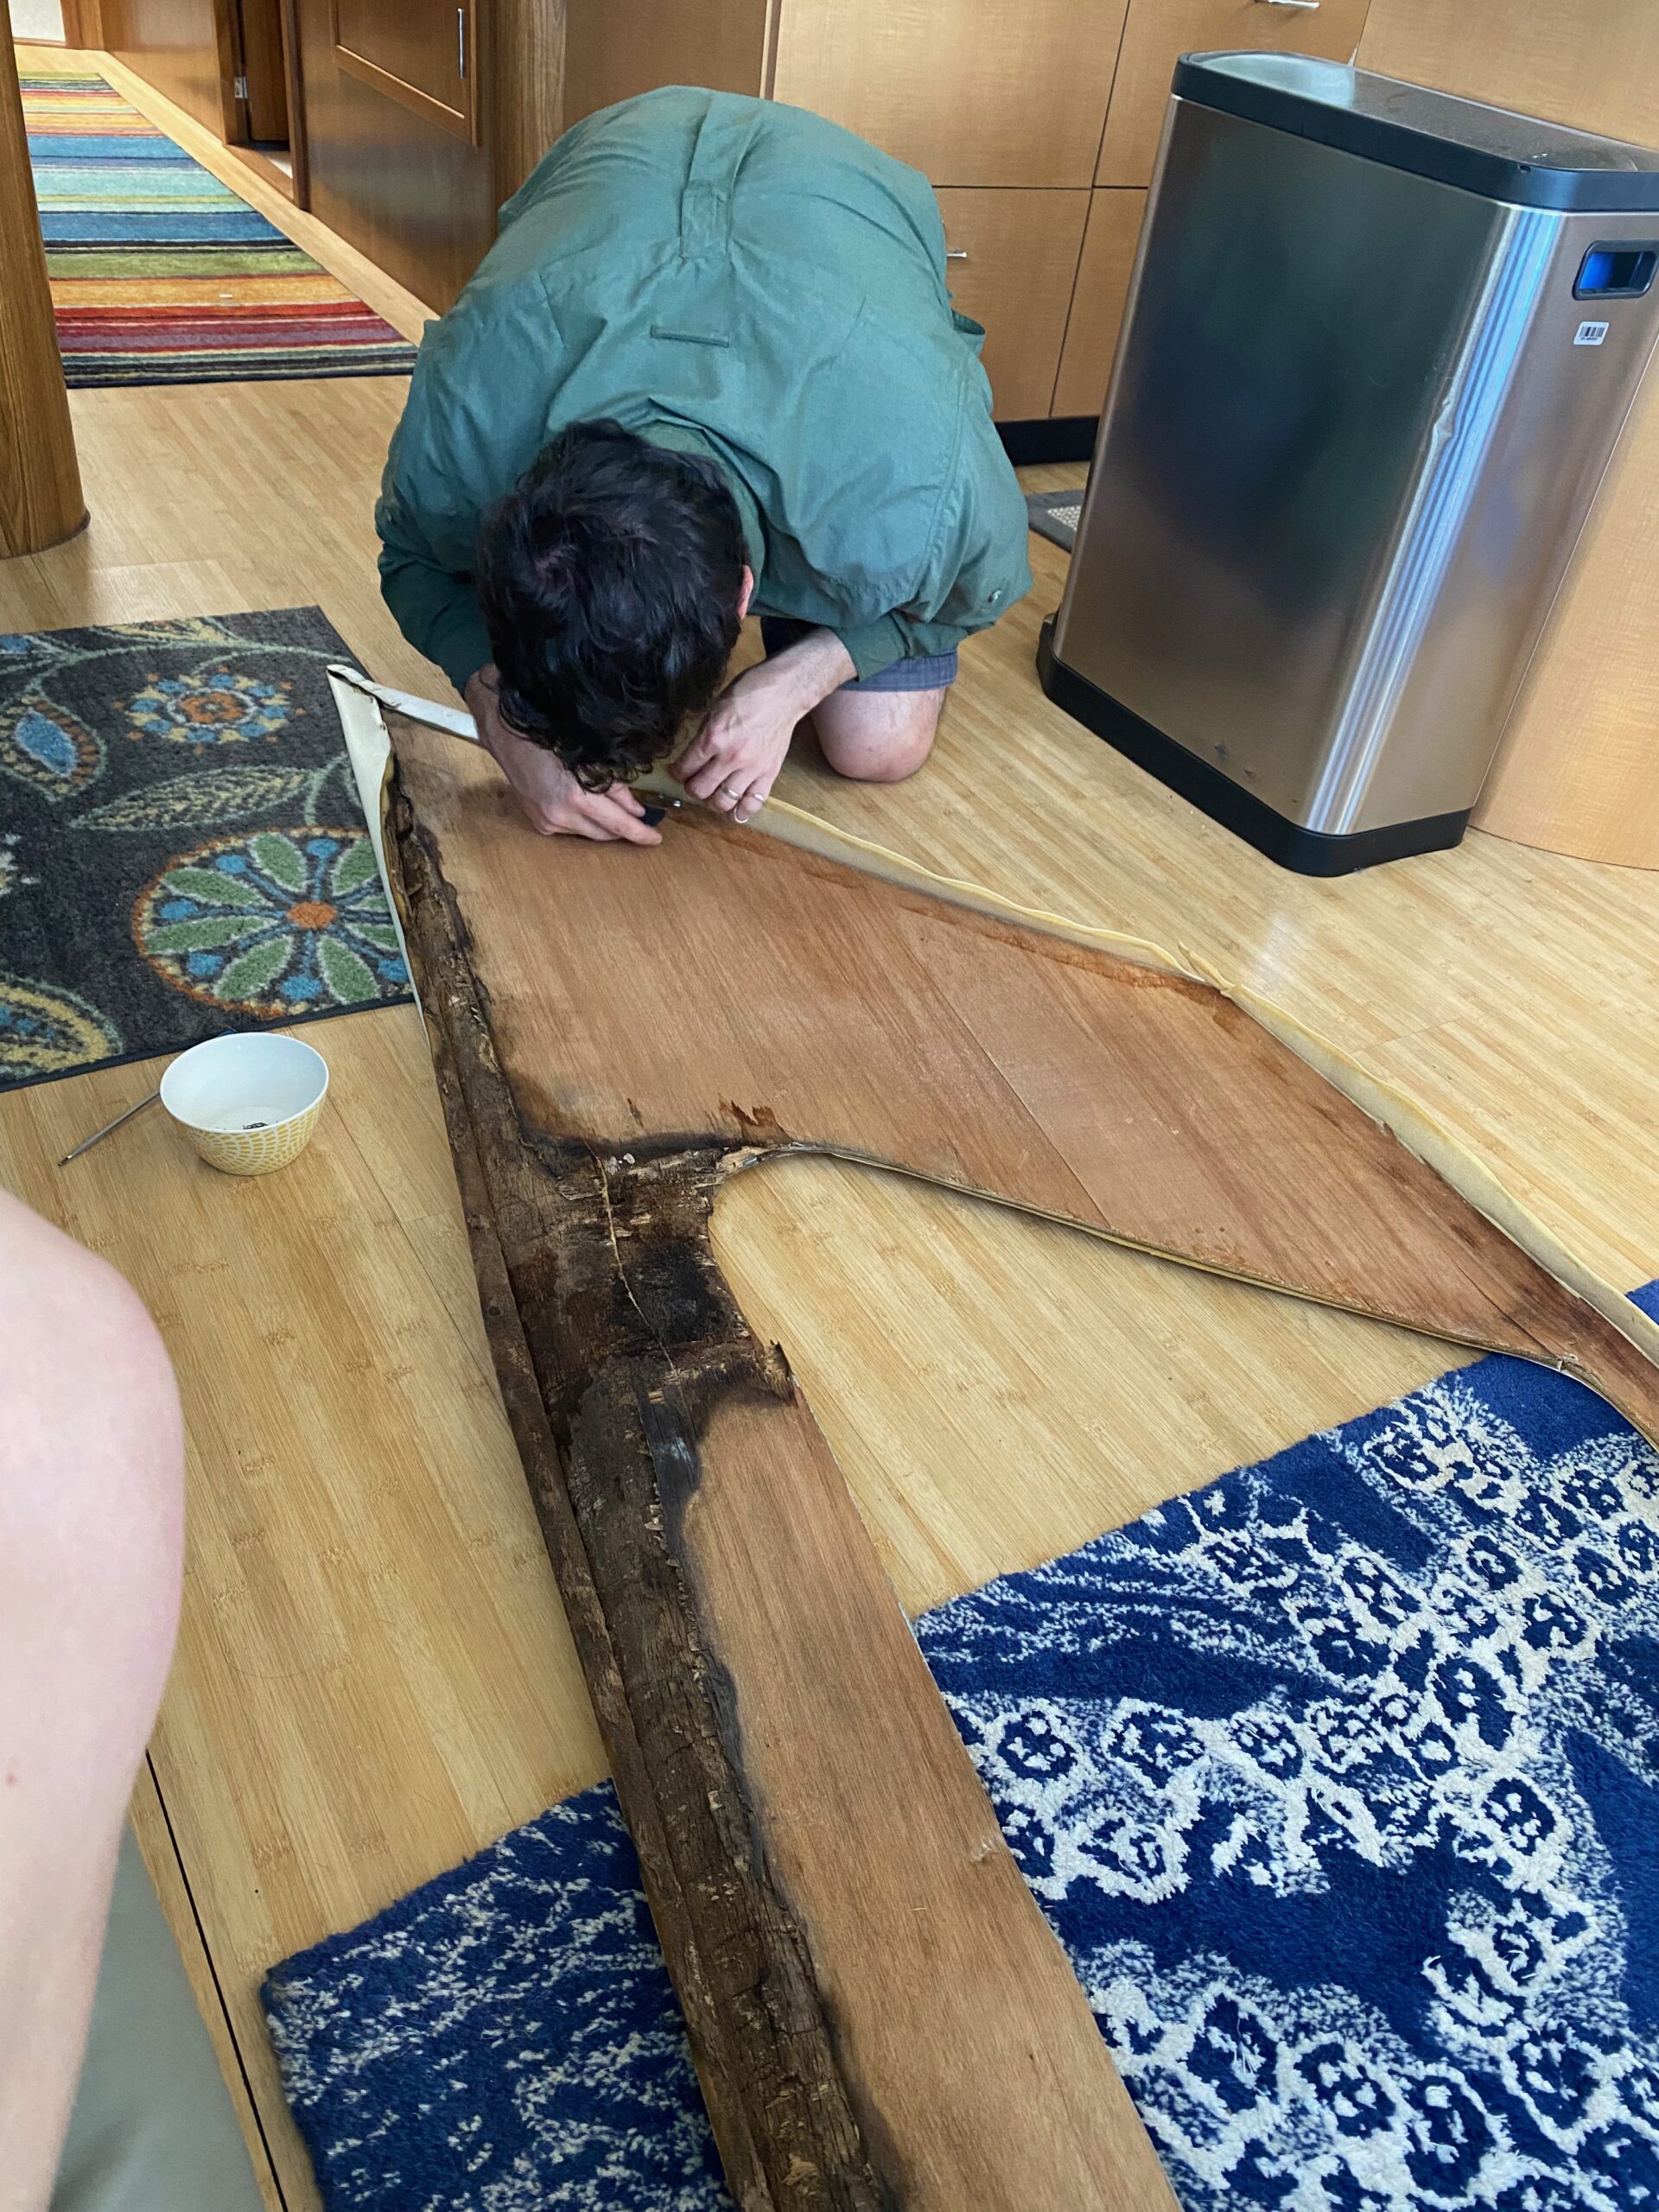
In the extremely heavy rainfall (the most that we’d seen since we moved onto Endeavour-Highwind), we discovered several leaks – one collecting on the staircase to the pilothouse and the other in the guest bathroom. David managed to trace the bathroom leak all the way up to our bedroom where the seal on the window had clearly been disintegrating. He dismantled the window and the wall panel and we discovered the wall panel had completely rotted/dissolved and it became clear where the water was coming through.
To find the source of the leak on the stairs, David had to remove an entire wall panel and we discovered that the water was coming in through the seam where the pilot house joins the base of the boat.
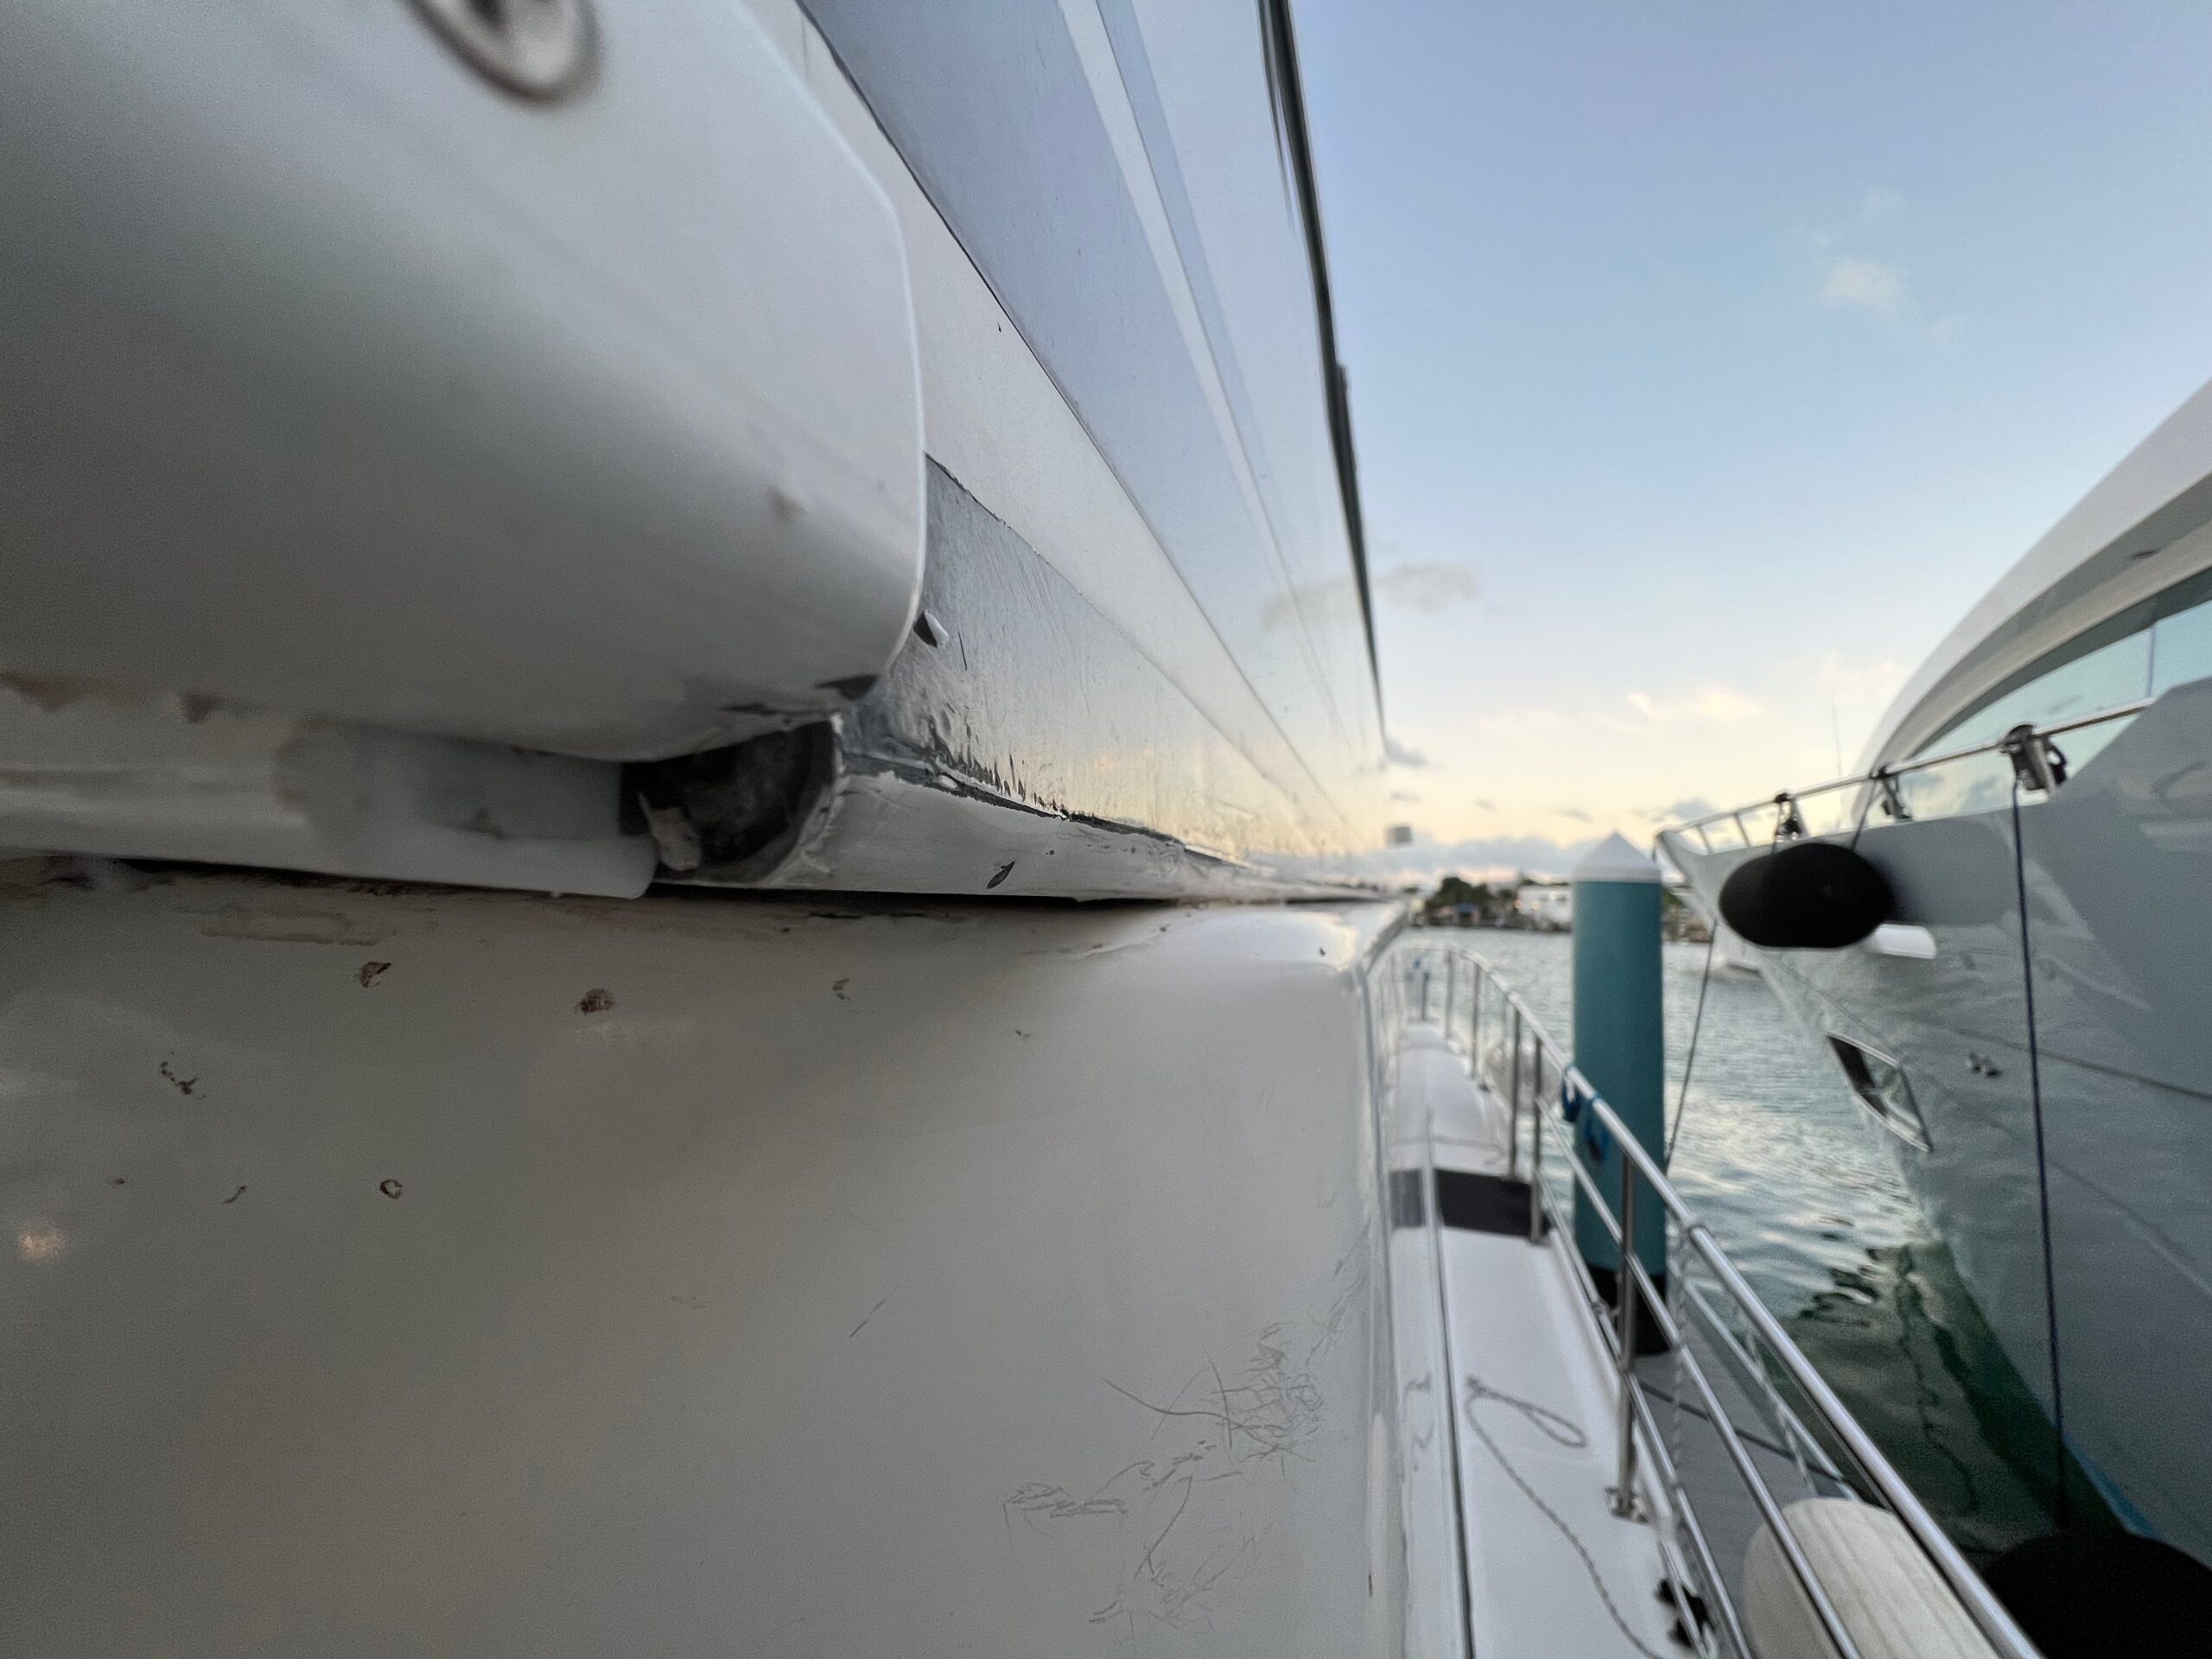
Once the rain had stopped in the afternoon, David started picking out all the old sealant between the two layers of the boat, so that we could let it dry a bit before re-sealing. We also re-caulked our bedroom window.
Hopefully that would solve these rain leaks, though we need to rebuild the wall around the window in our bedroom, but without easy transport to a hardware store on Key West, we weren’t about to bring a new large piece of plywood to the boat. However, to prepare, I set about ordering some samples of foam-backed vinyl for covering the new piece, so that we can color match with the existing fabric on the boat (which we have learned is not made any more).
David and I had decided to remain in Key West for the rest of the week after Mum and Dad left, so we got back to work. It was warm enough that we turned on the A/C. Just before the weekend, David took a look down in the port engine bay, where we had just installed a new dry bilge system to match the one in the starboard side. Unfortunately, there was a bunch of water in the bilge. Since we hadn’t cruised anywhere, we figured it couldn’t be from a leaking shaft seal. David thought it might be dying hoses from the A/C, which hadn’t been replaced since the boat was built 15 years ago. He started dismantling the wall and we discovered a large crack in the hose that ran up the rear port corner. We were able to buy some replacement hose from the West Marine around the corner and it was a relatively easy job to replace. Sweet!
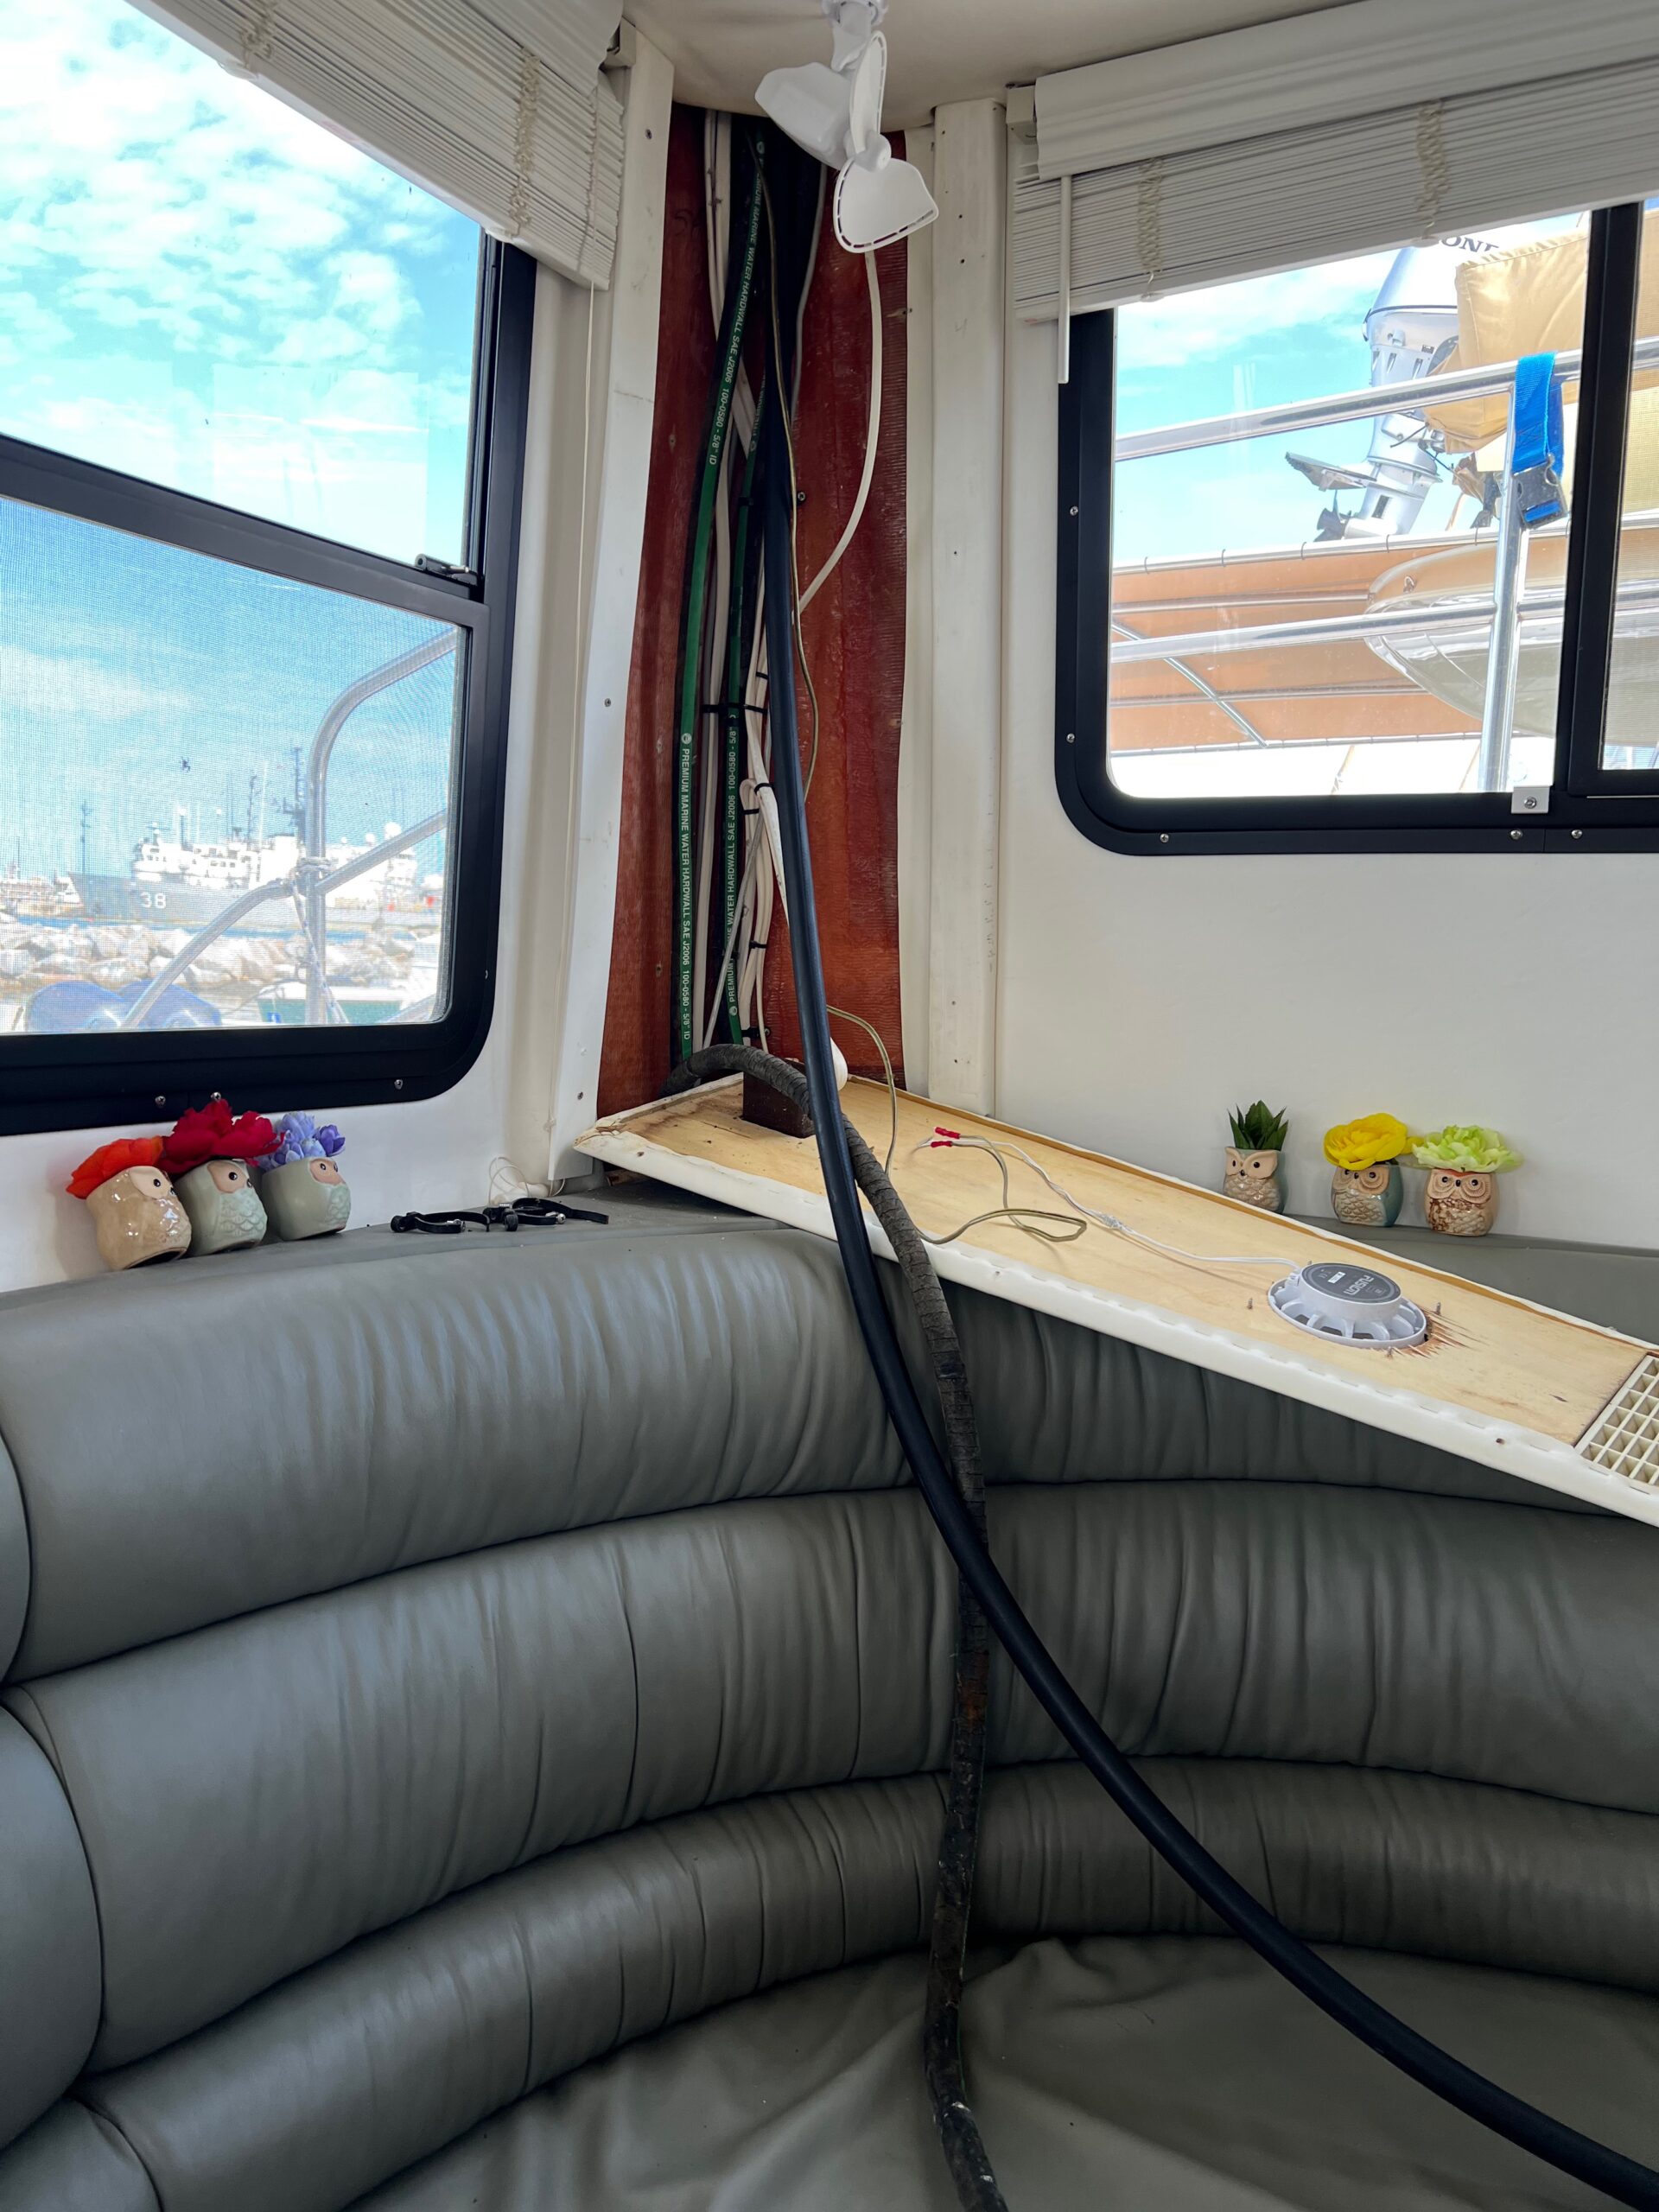
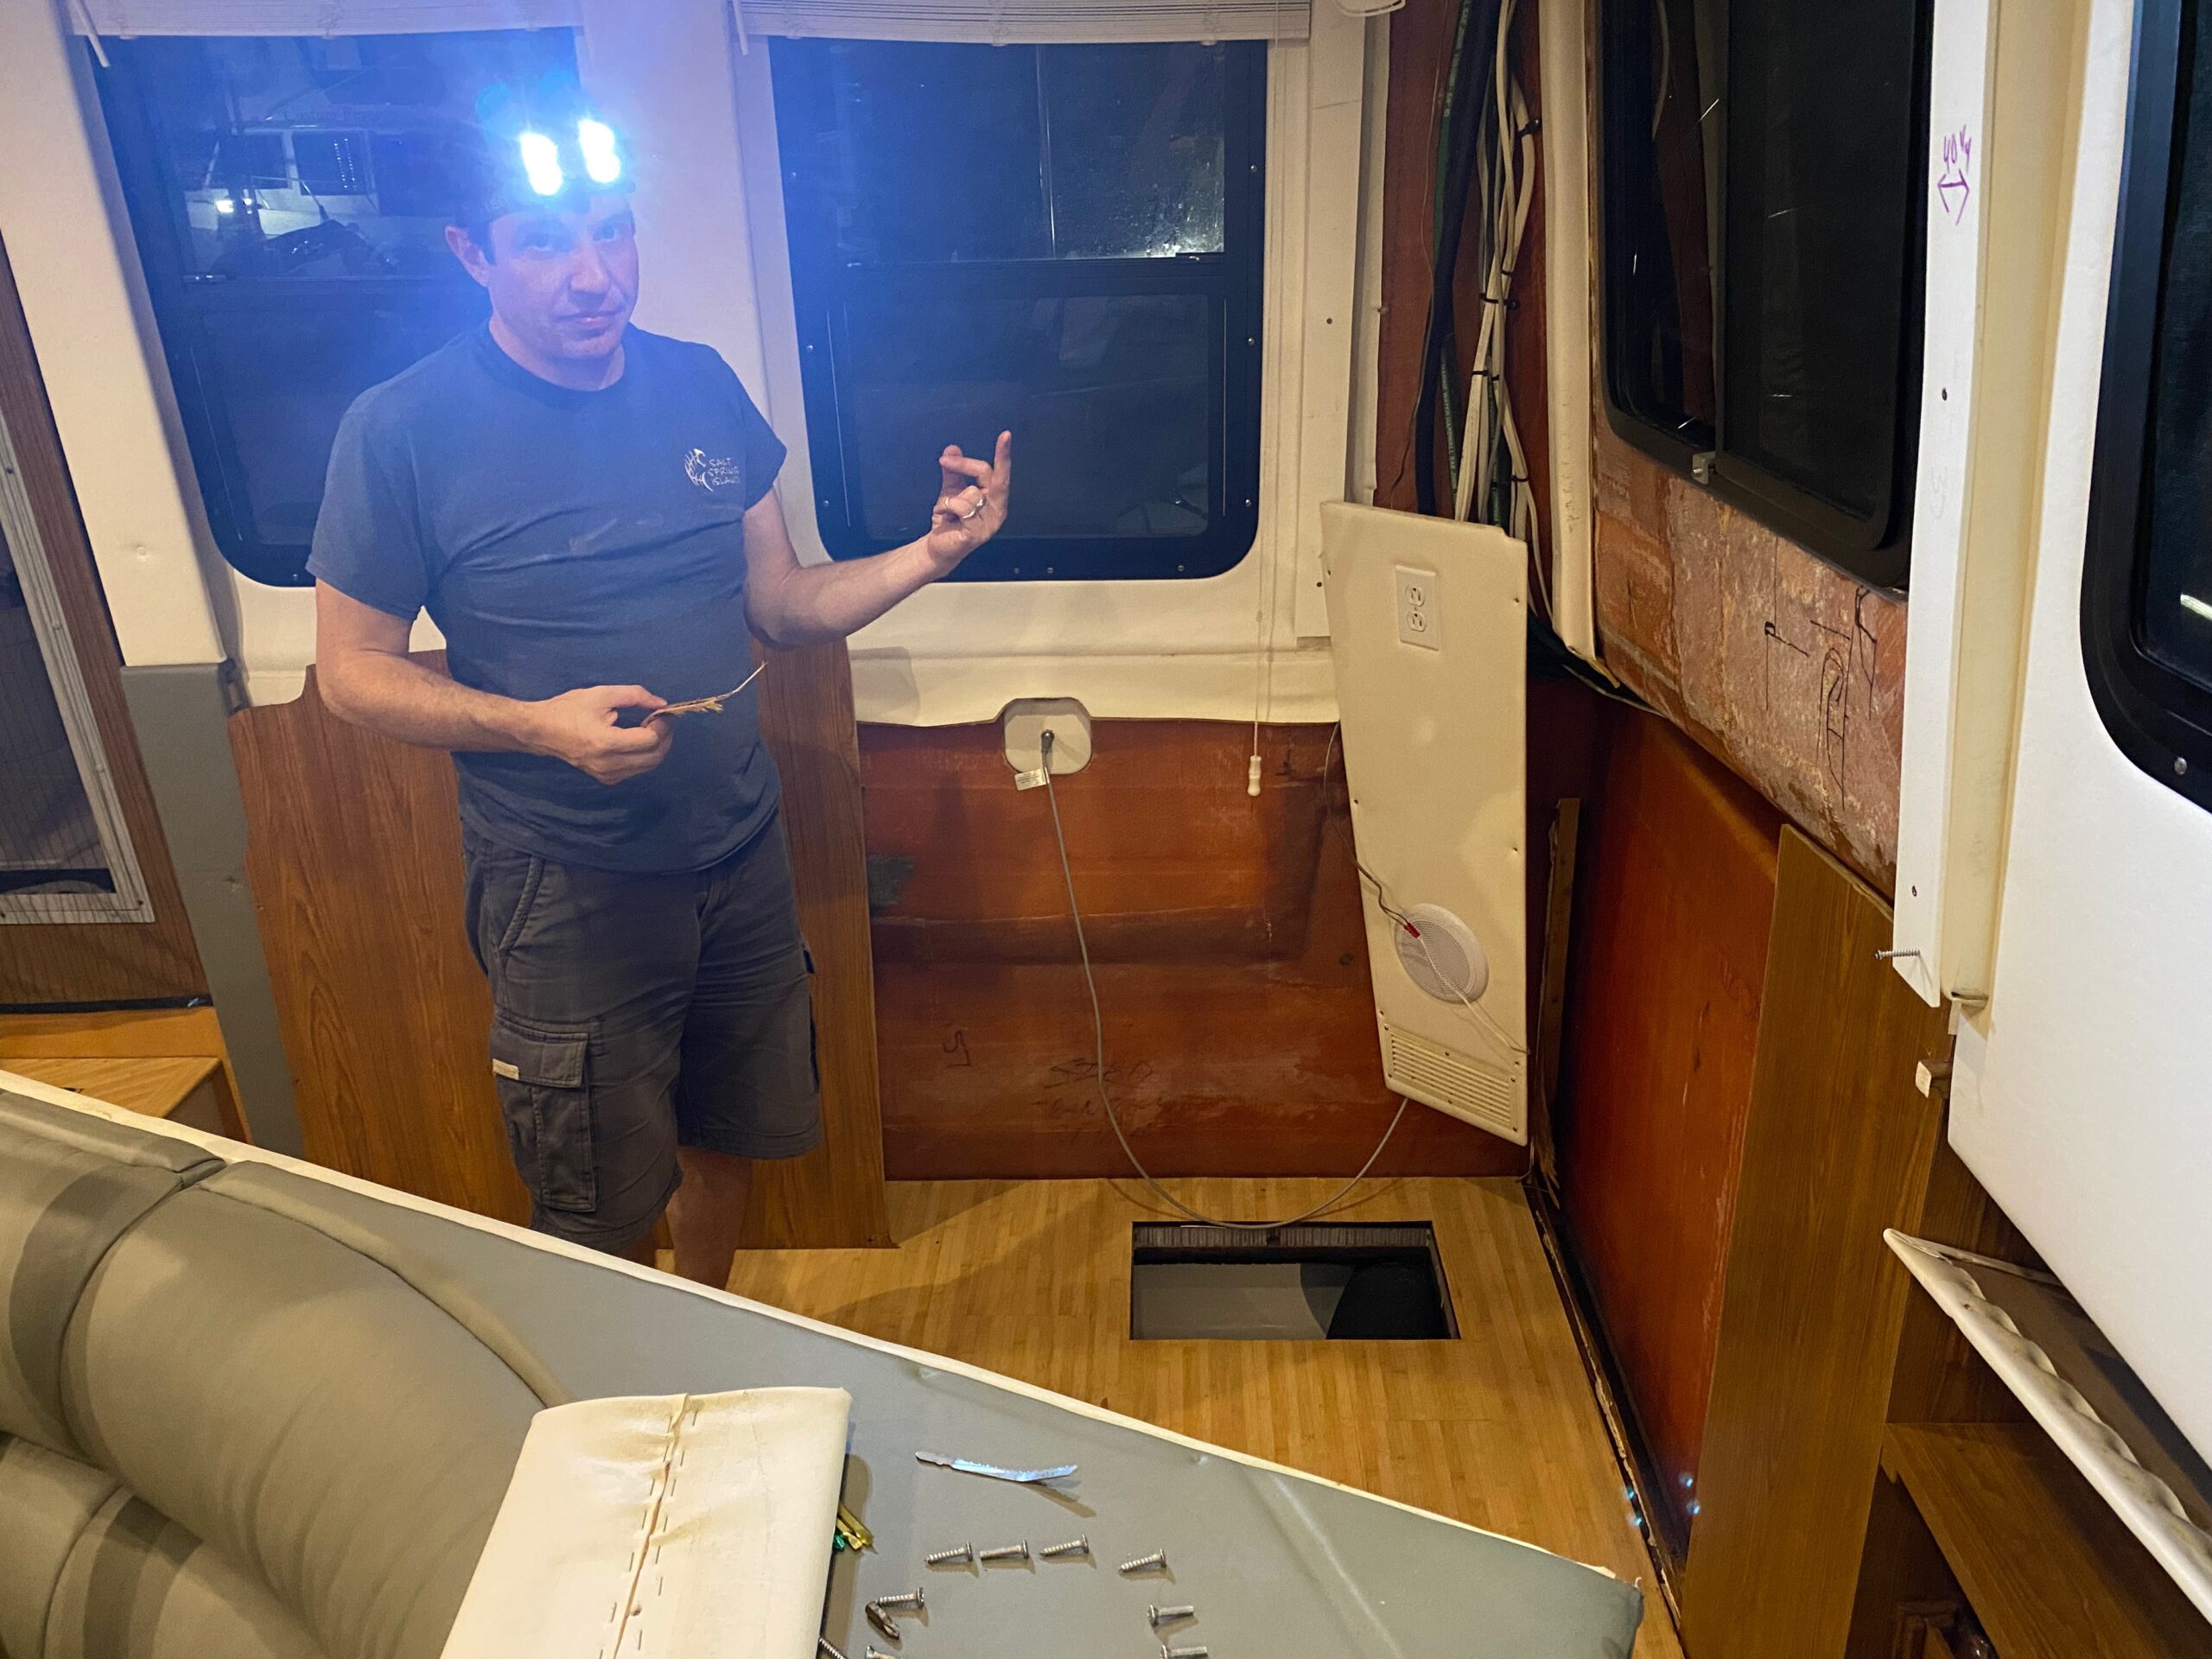
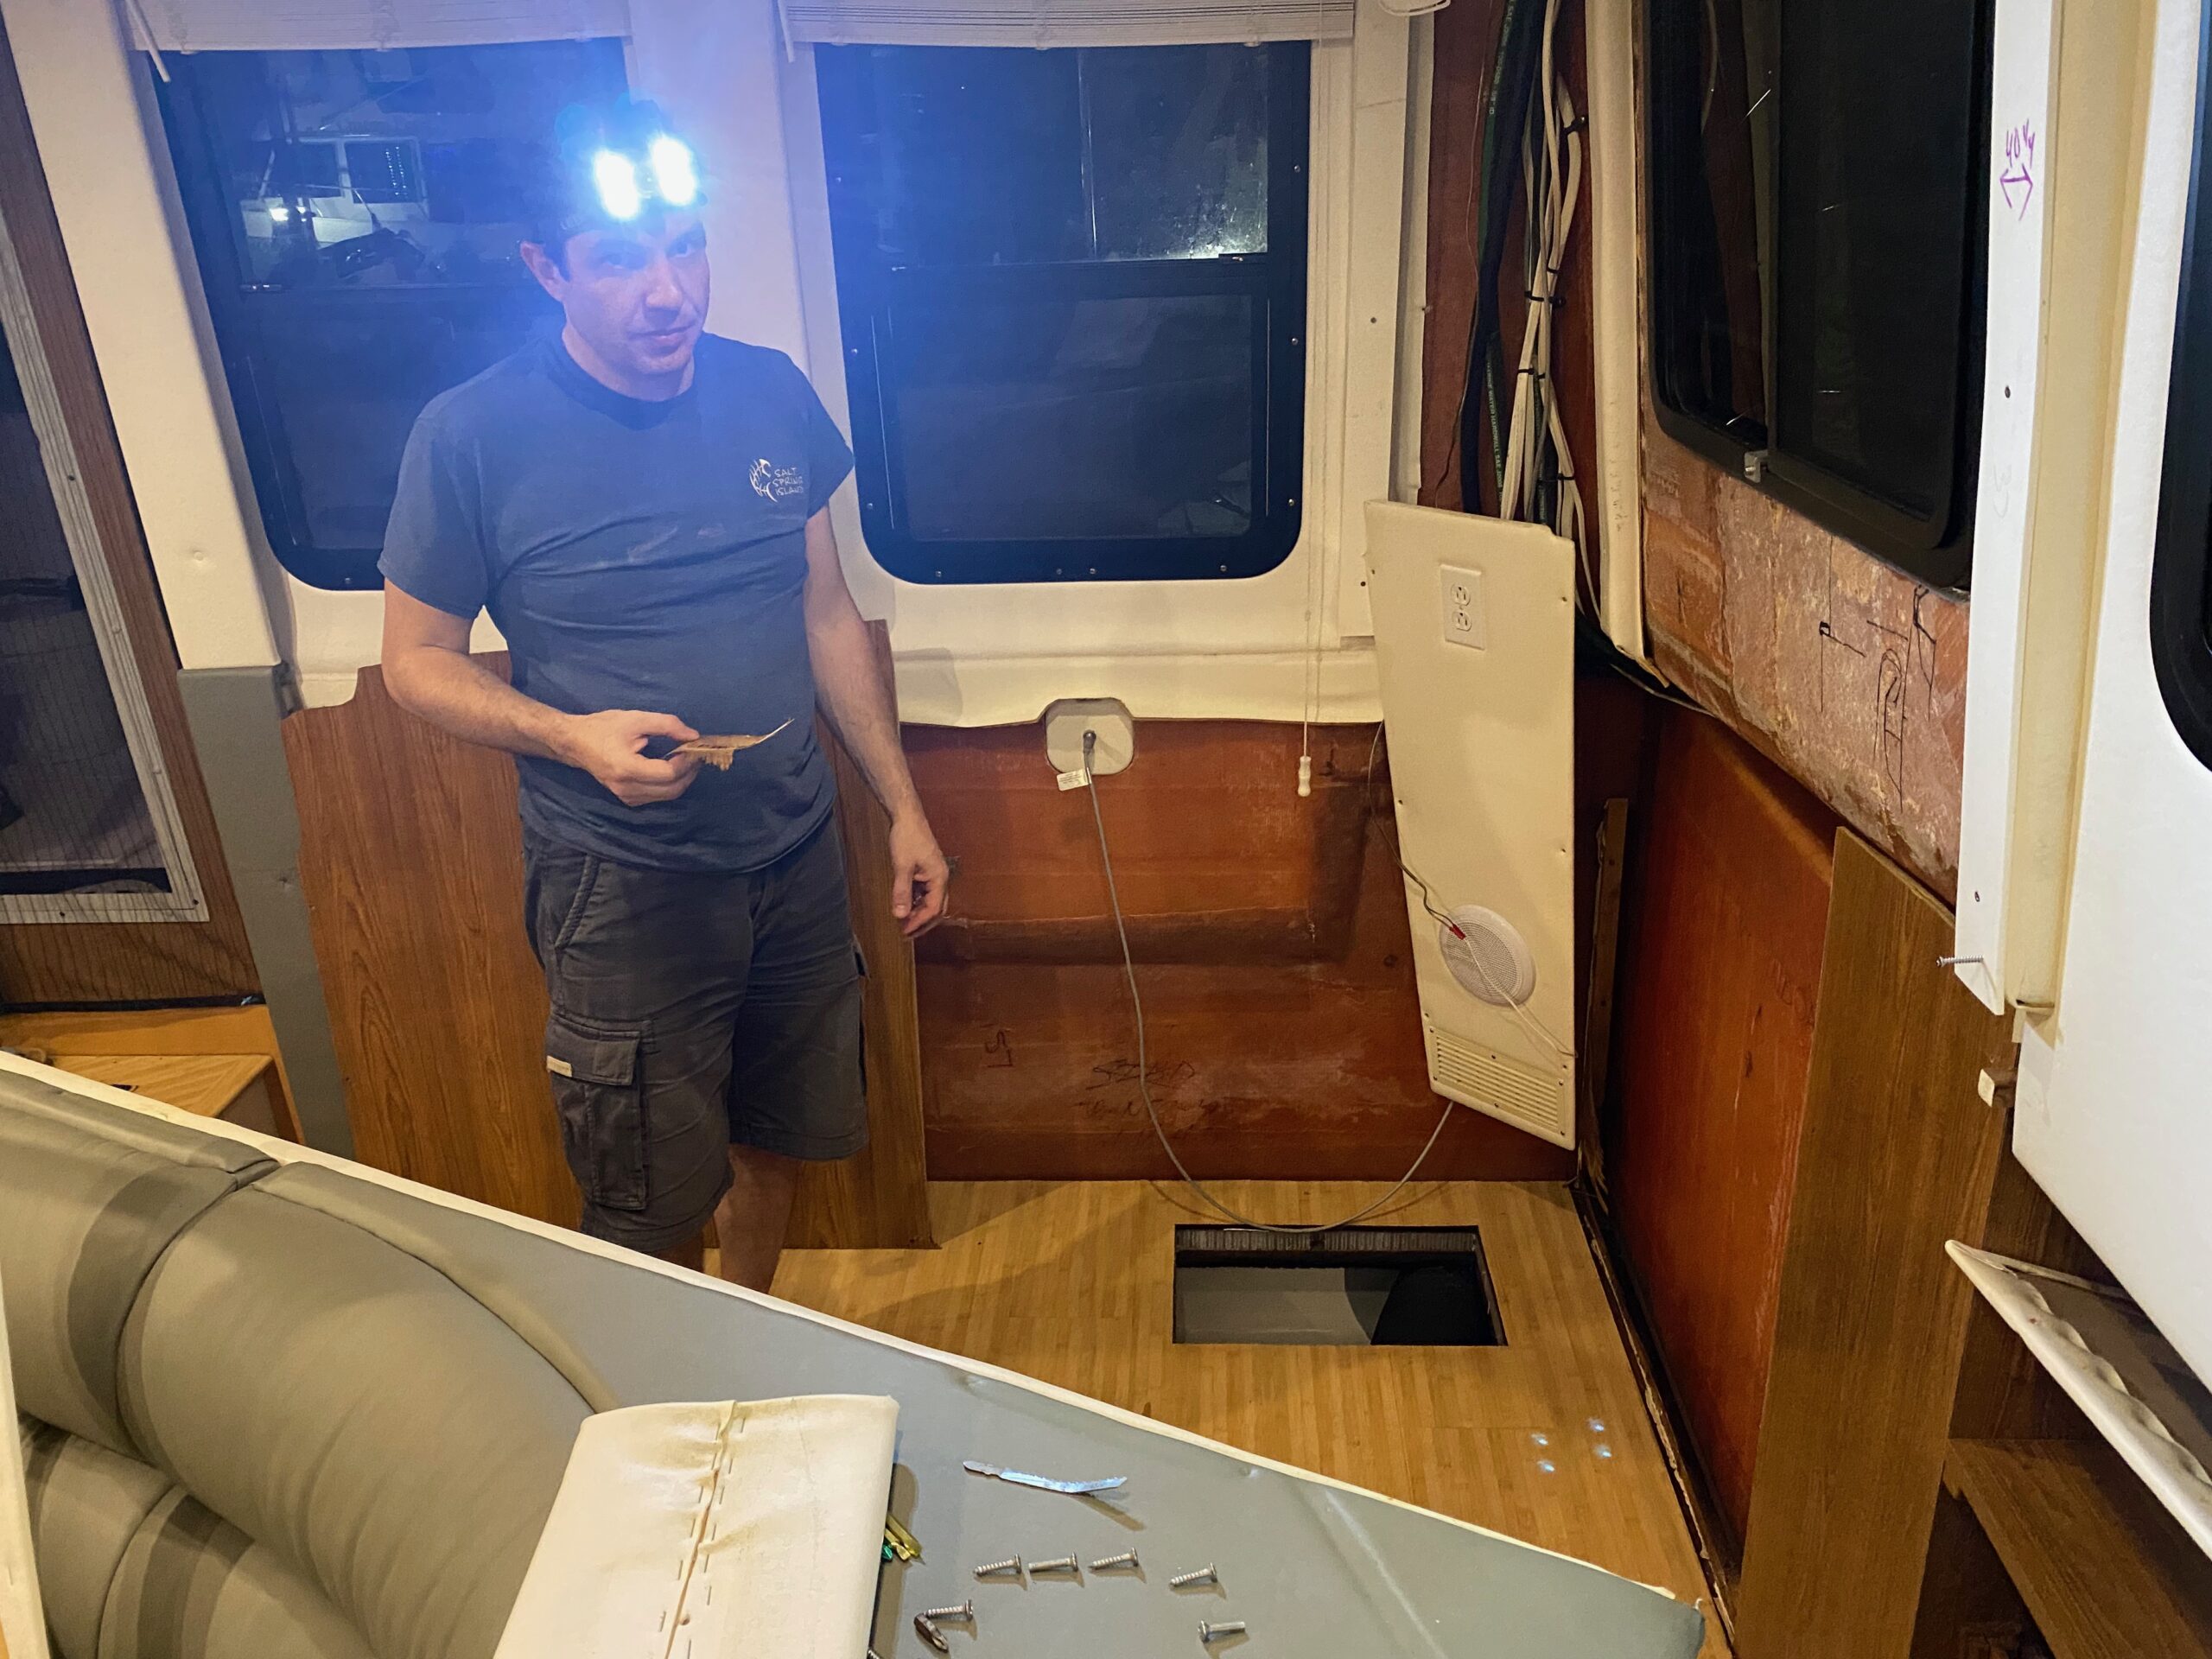
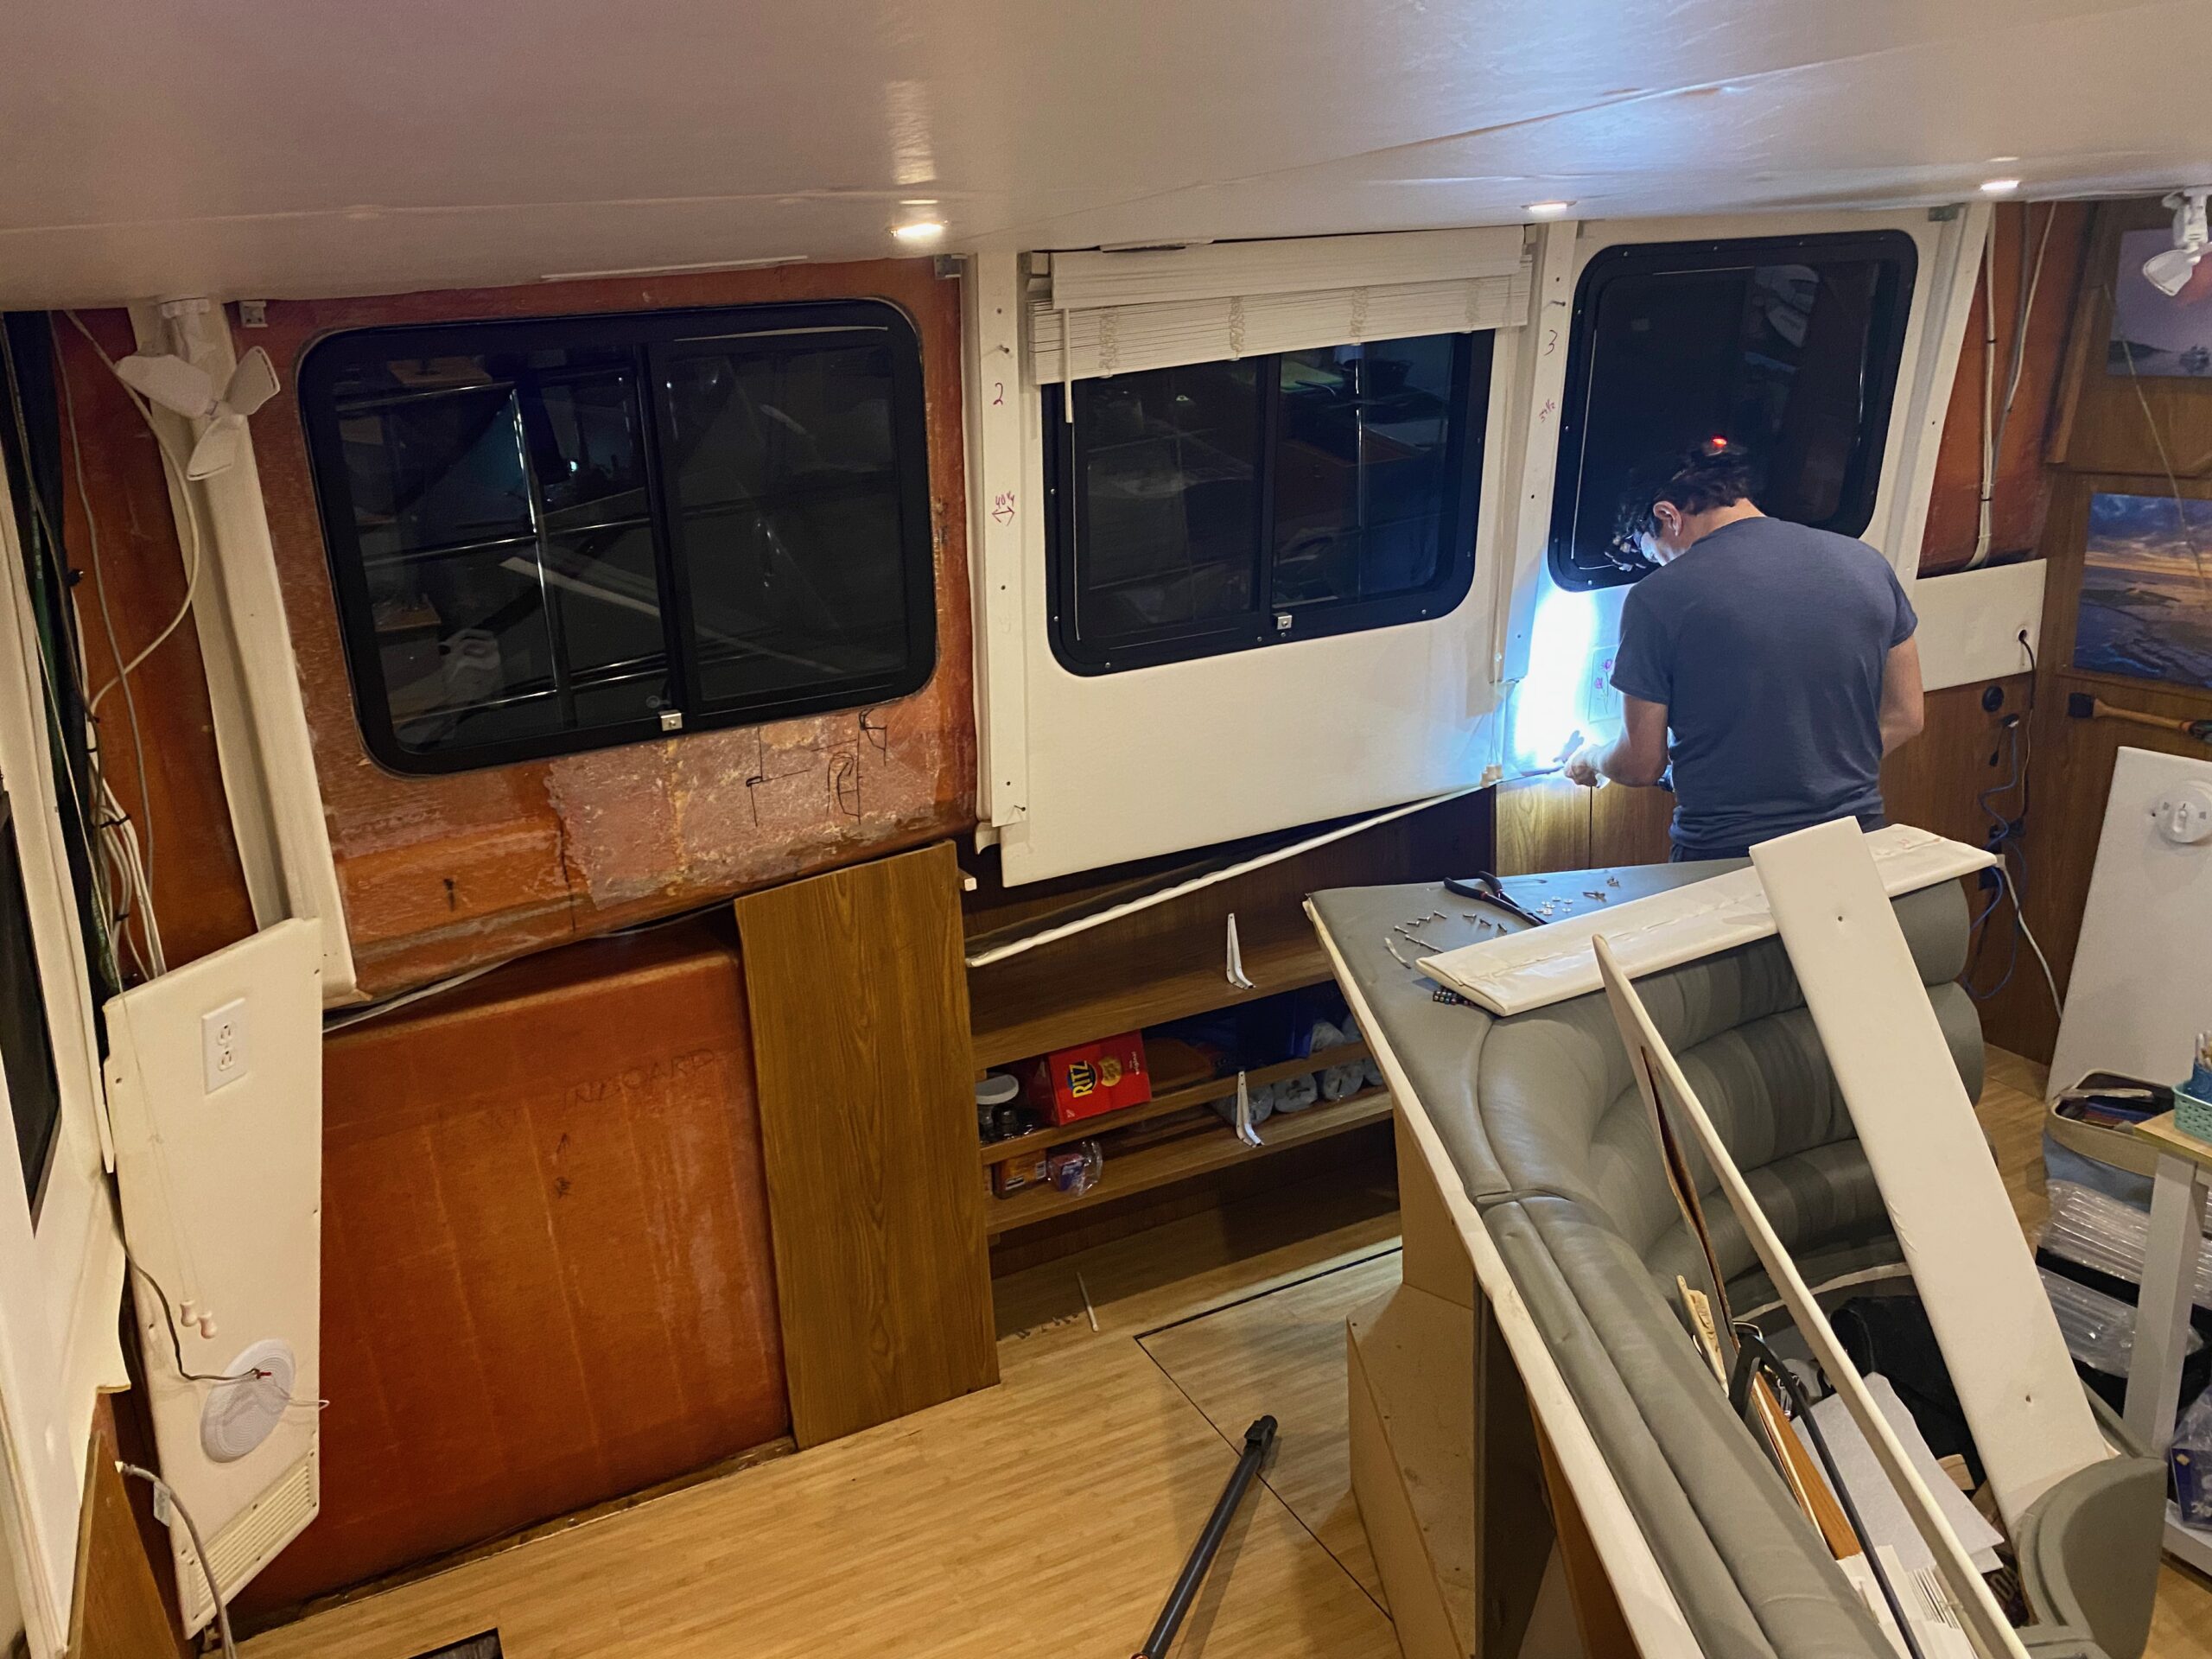
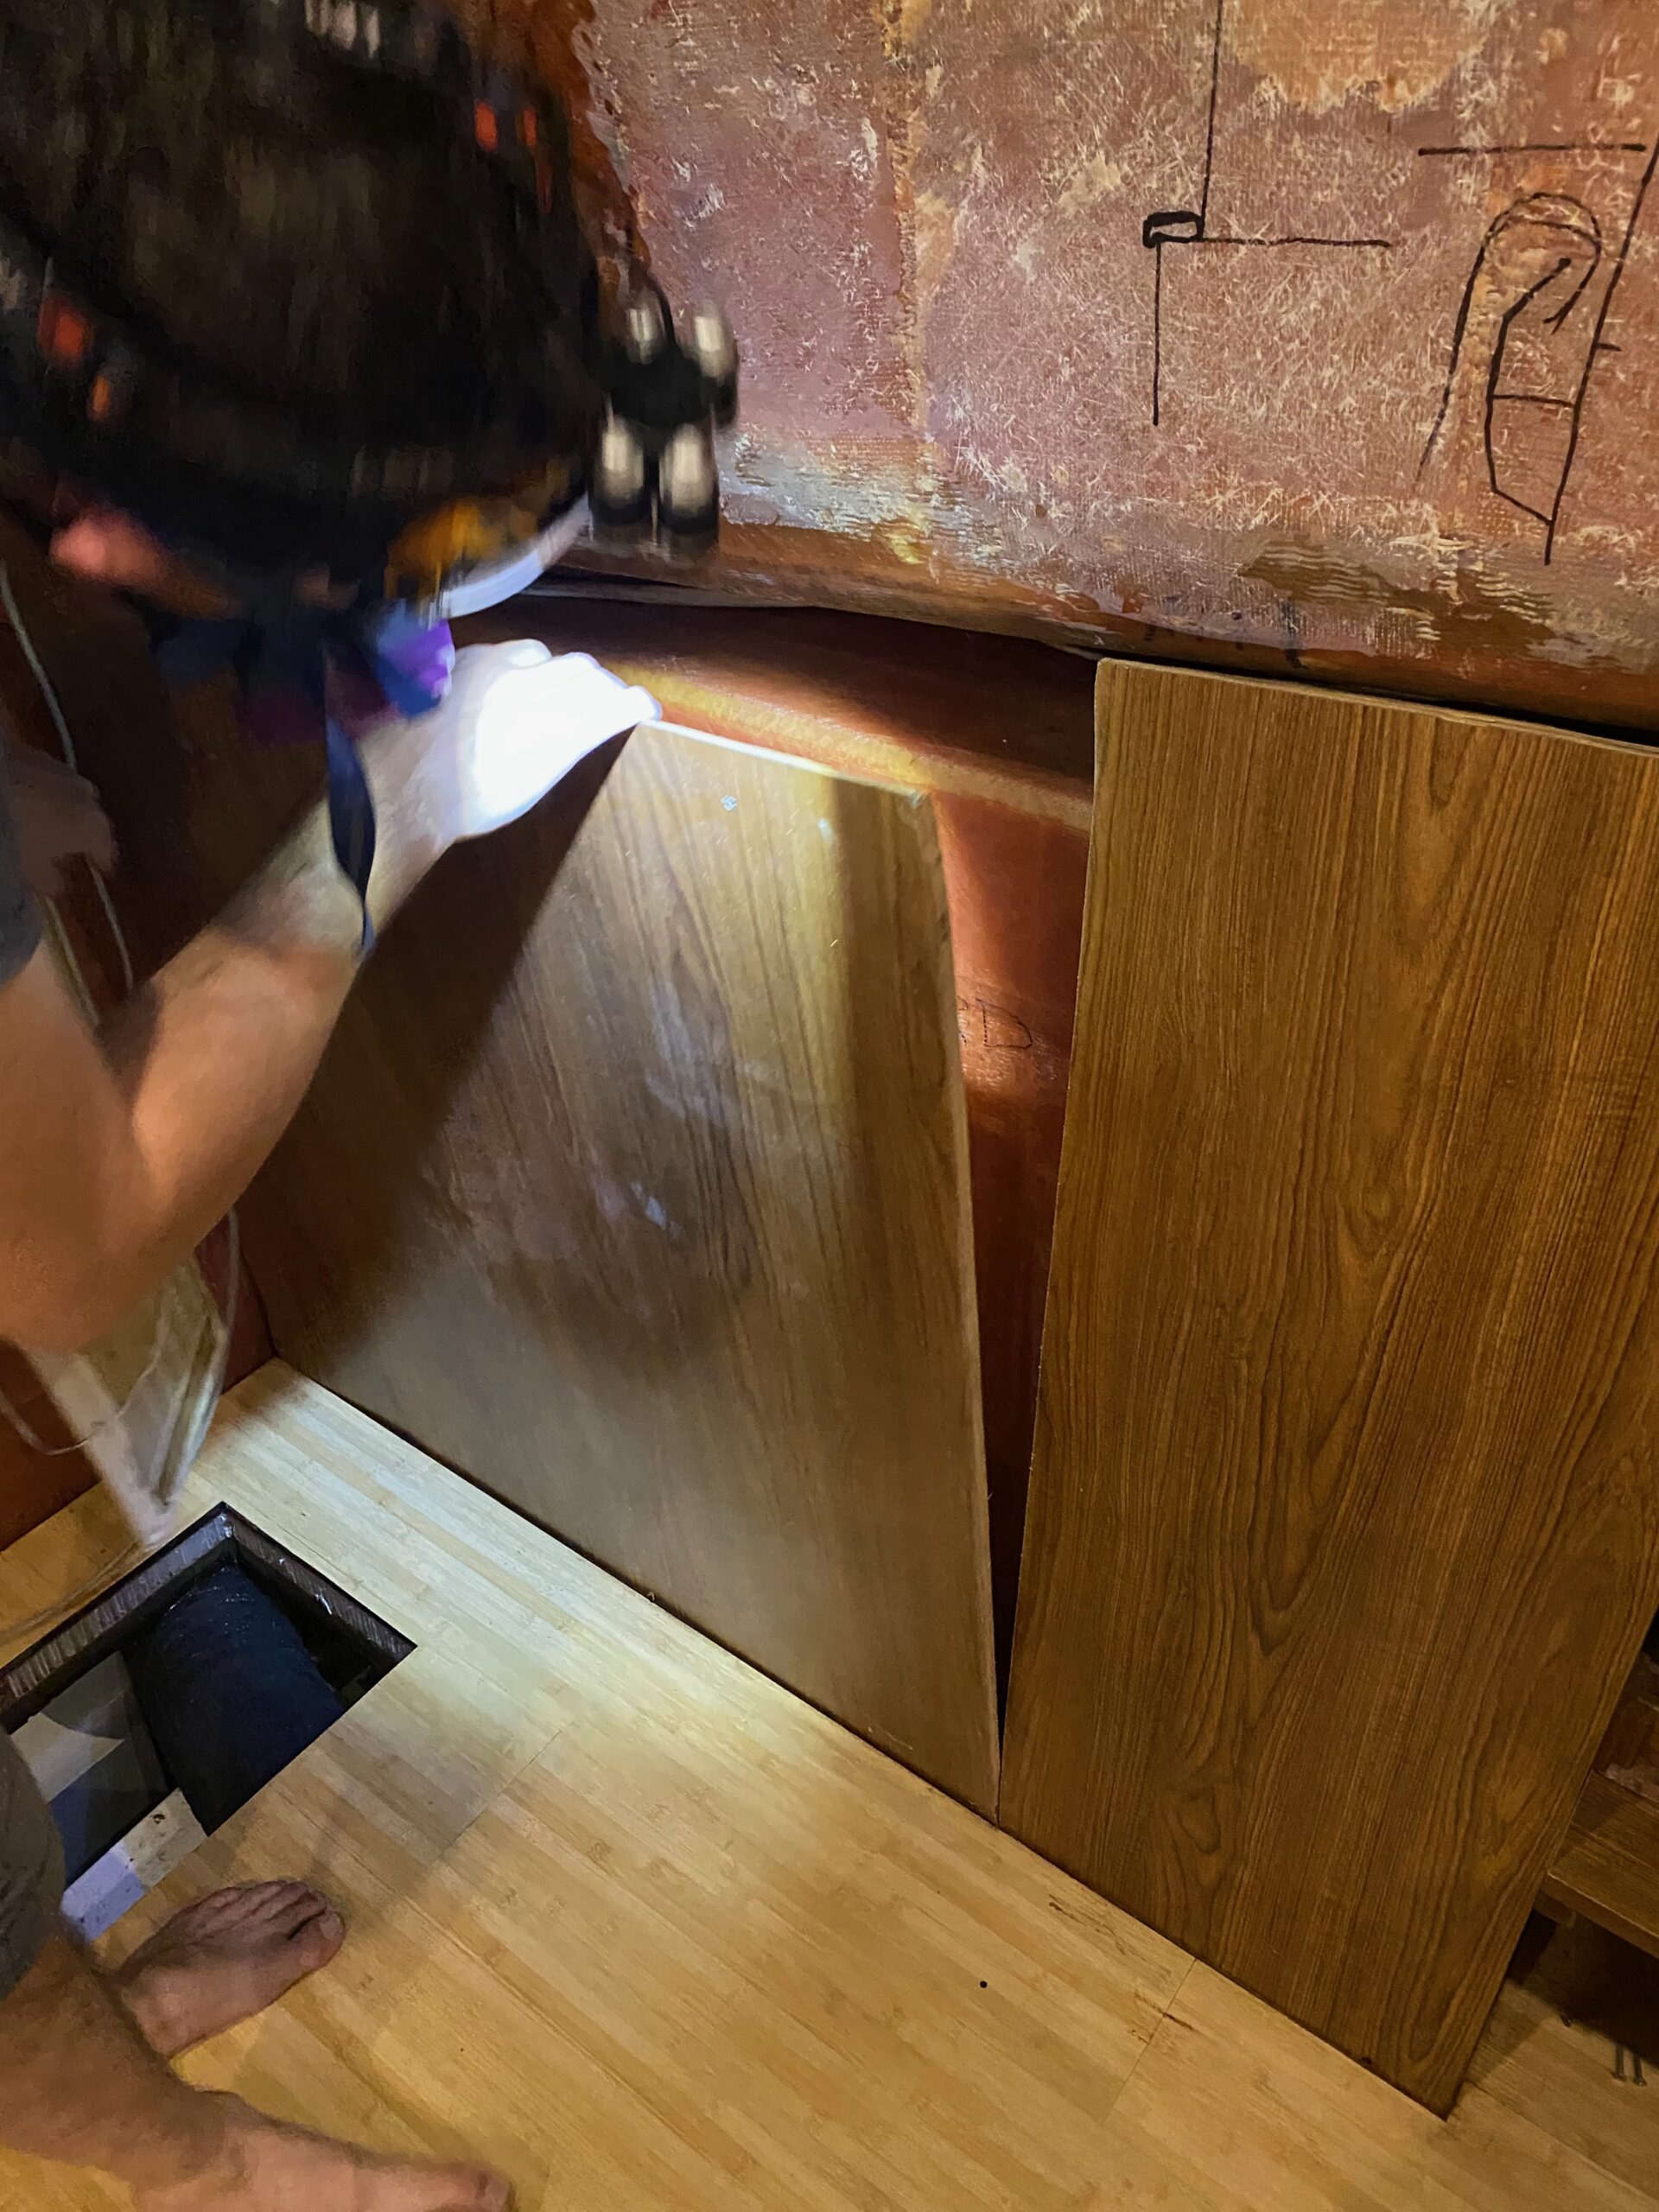
We turned the A/C back on. A few hours later we checked the bilge again…oh no, it was full of water again. We looked again at all the hoses and found another crack that was spewing water everywhere – only this time it was the hose that runs the length of the port side to the battery area behind the fridges – behind the couch and Hannah’s office desk. We extended our stay in the marina so that I could go back and buy the rest of their hose, and David set about finding access to the house, which unfortunately required dismantling two window panels, the entire couch, and sawsall-ing a panel behind the couch!
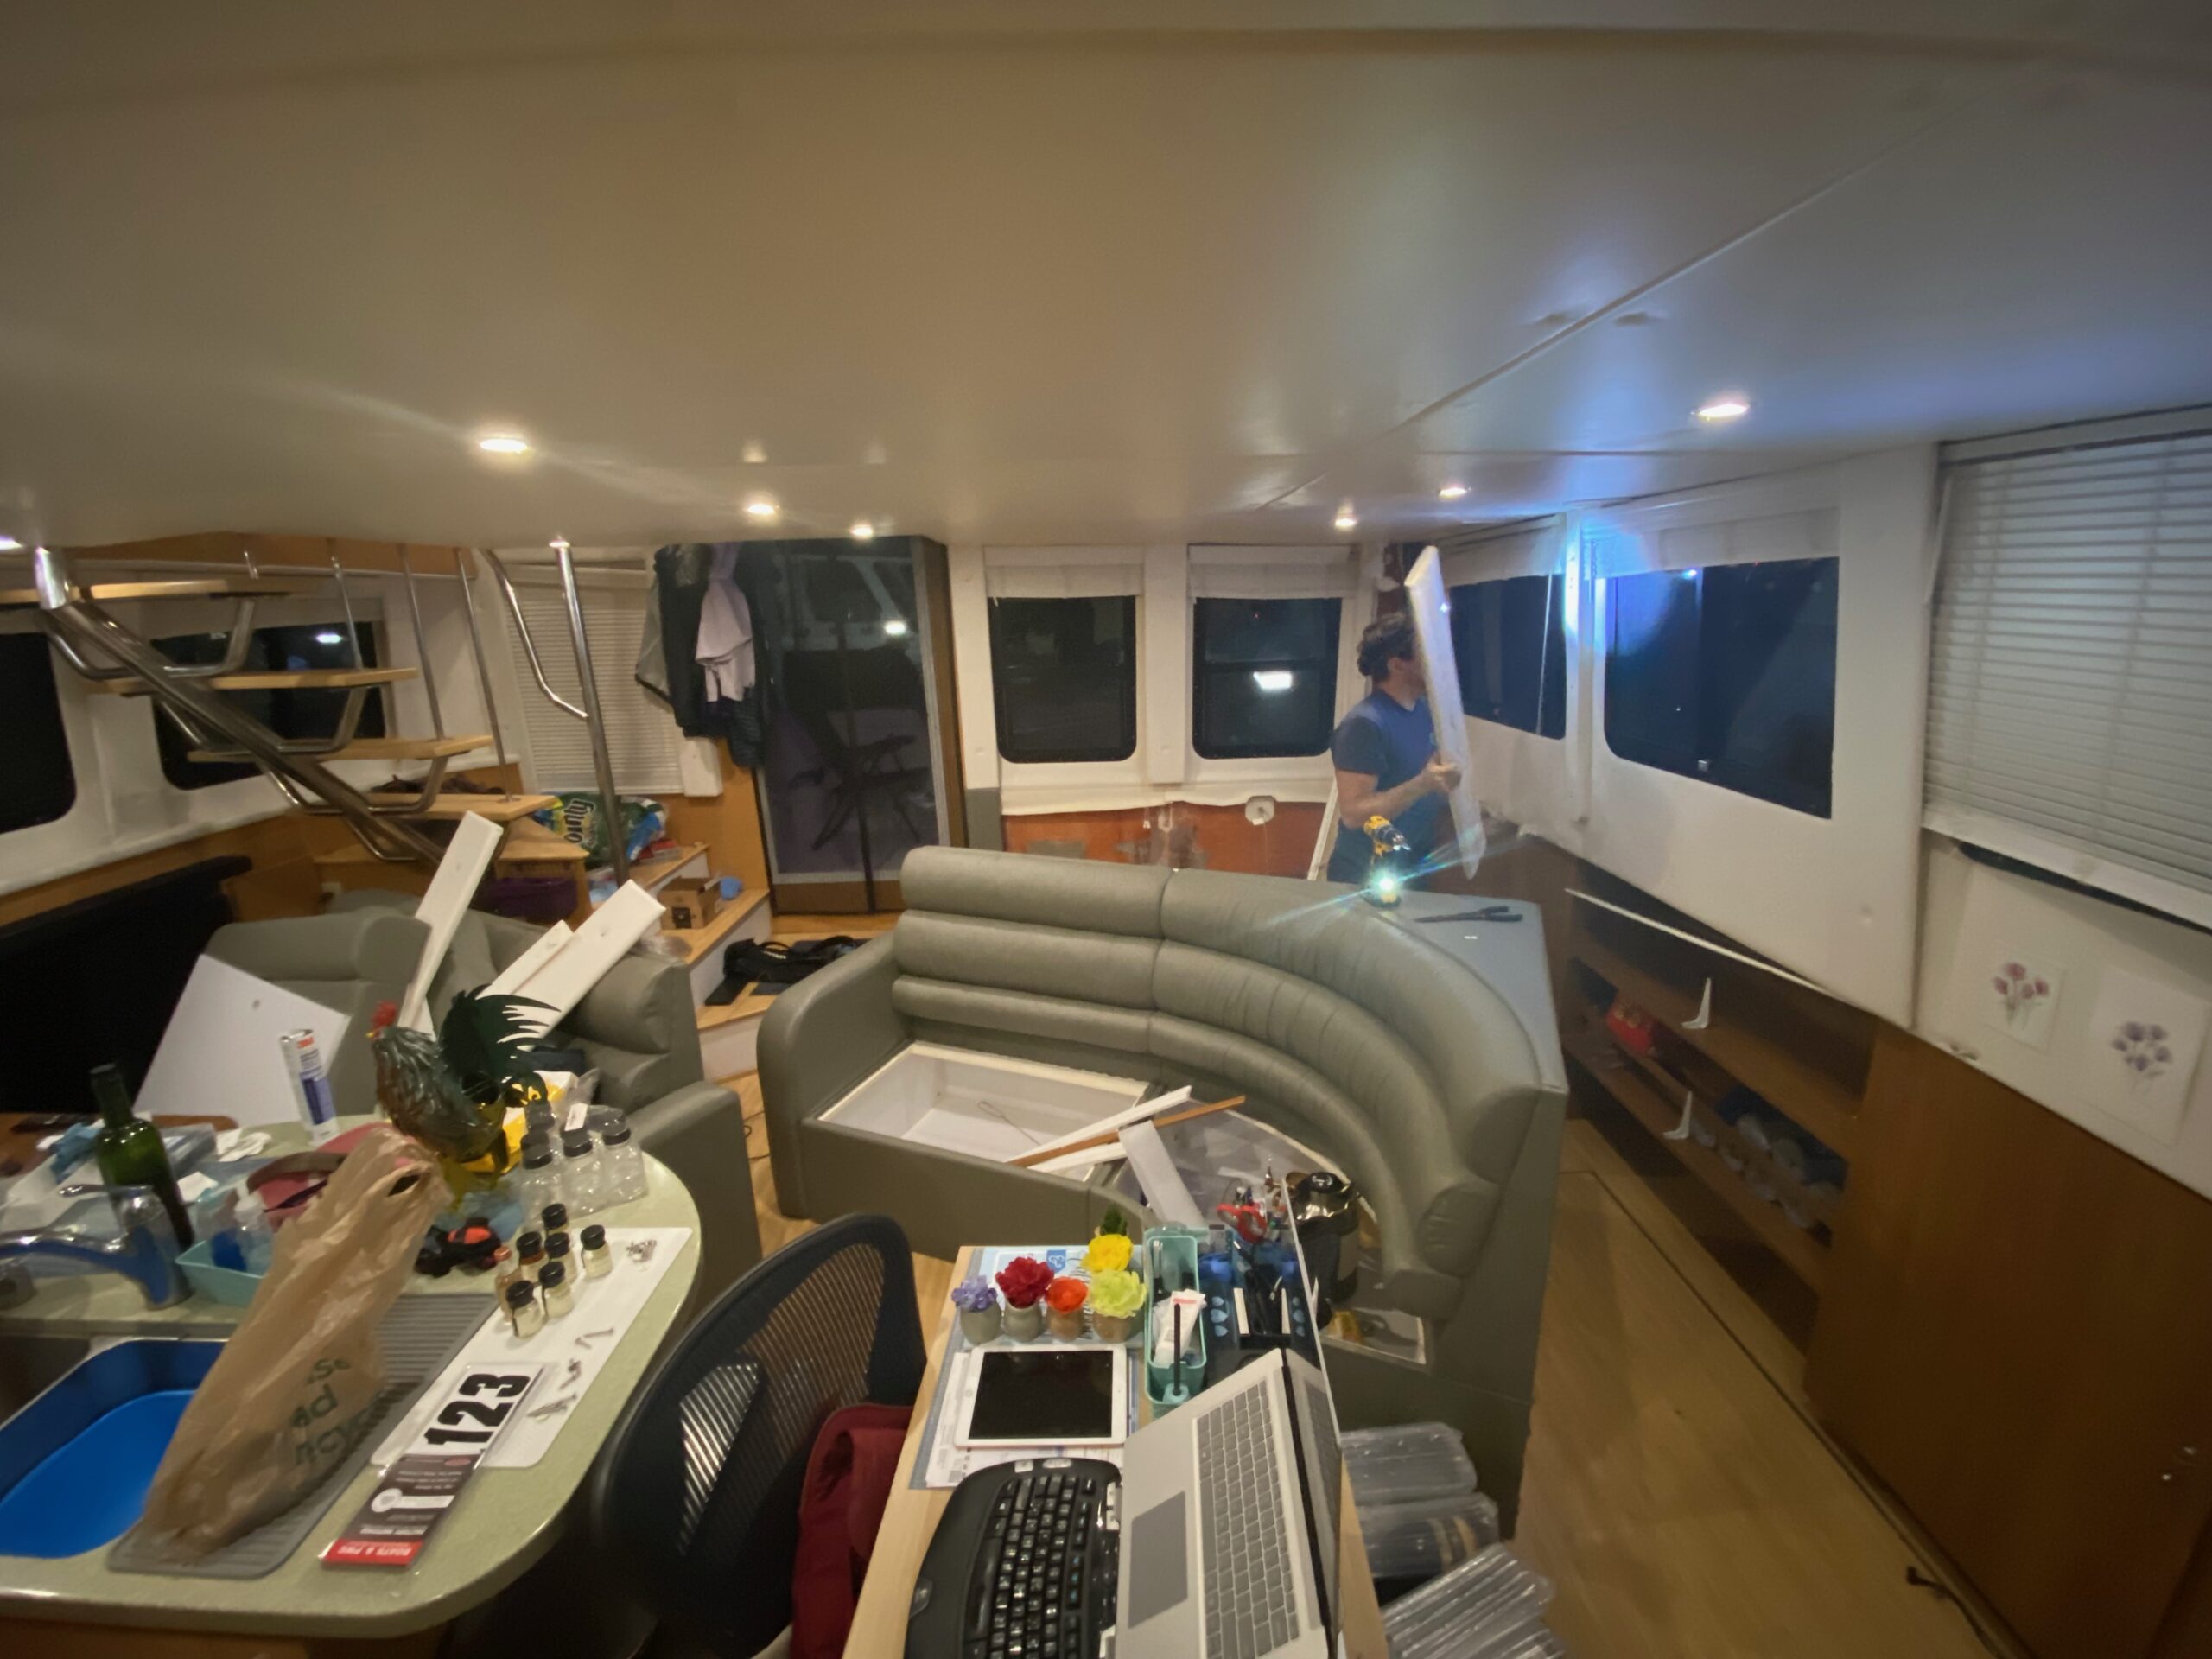
We were able to replace the hose, then left everything open with the fans on overnight in the hopes of getting everything dry. We woke up early the next day to reassemble the living room and head out to begin our journey eastward!
David also found the perfect spot to mount my rooster!

Nice cock!